Last updated November 21, 2026
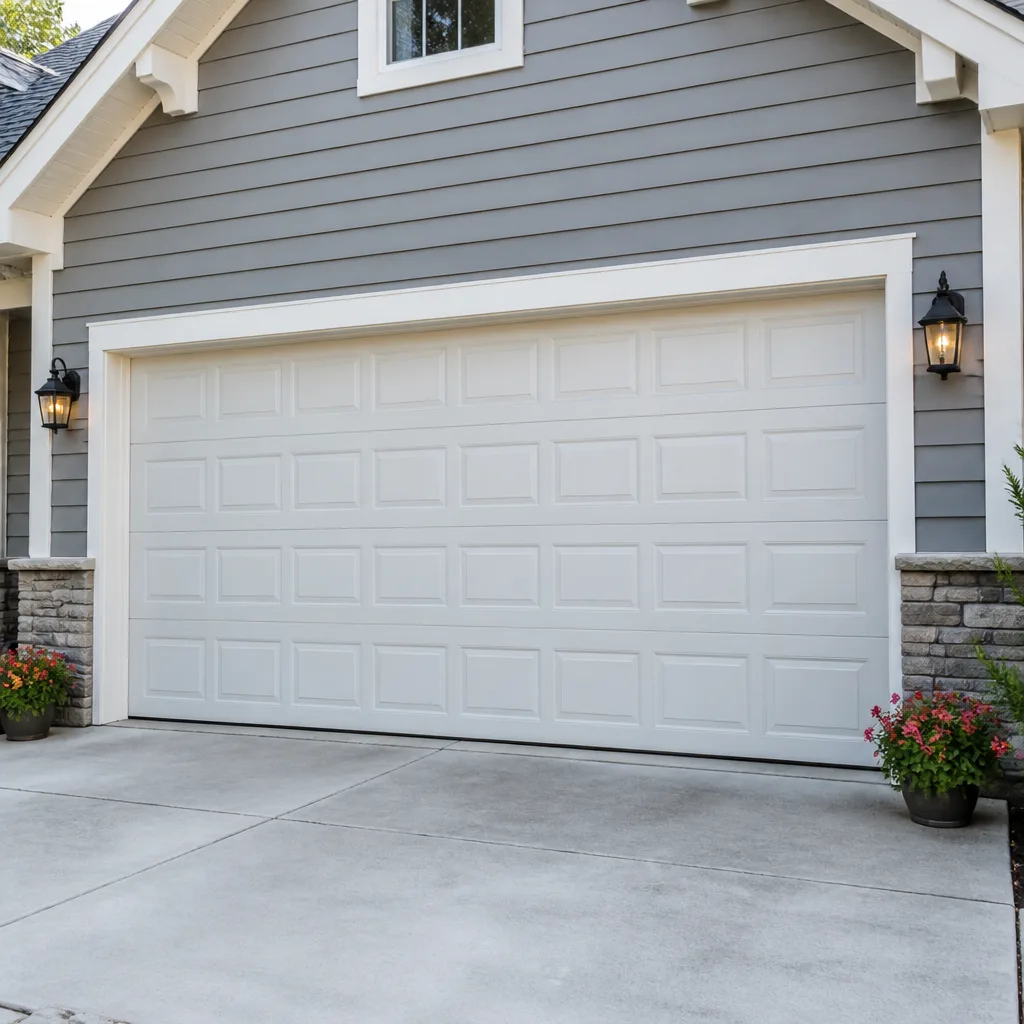 Raised-panel steel
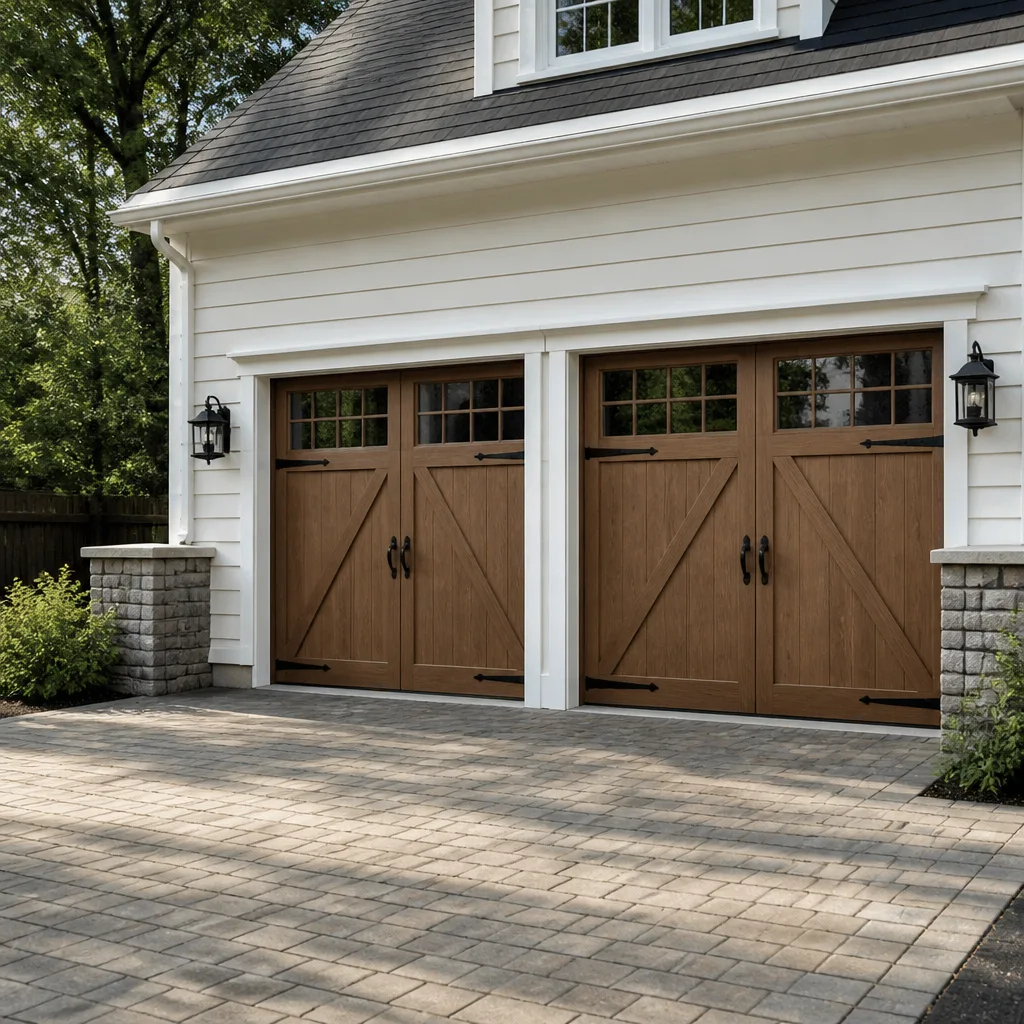 Carriage house
 Modern flush
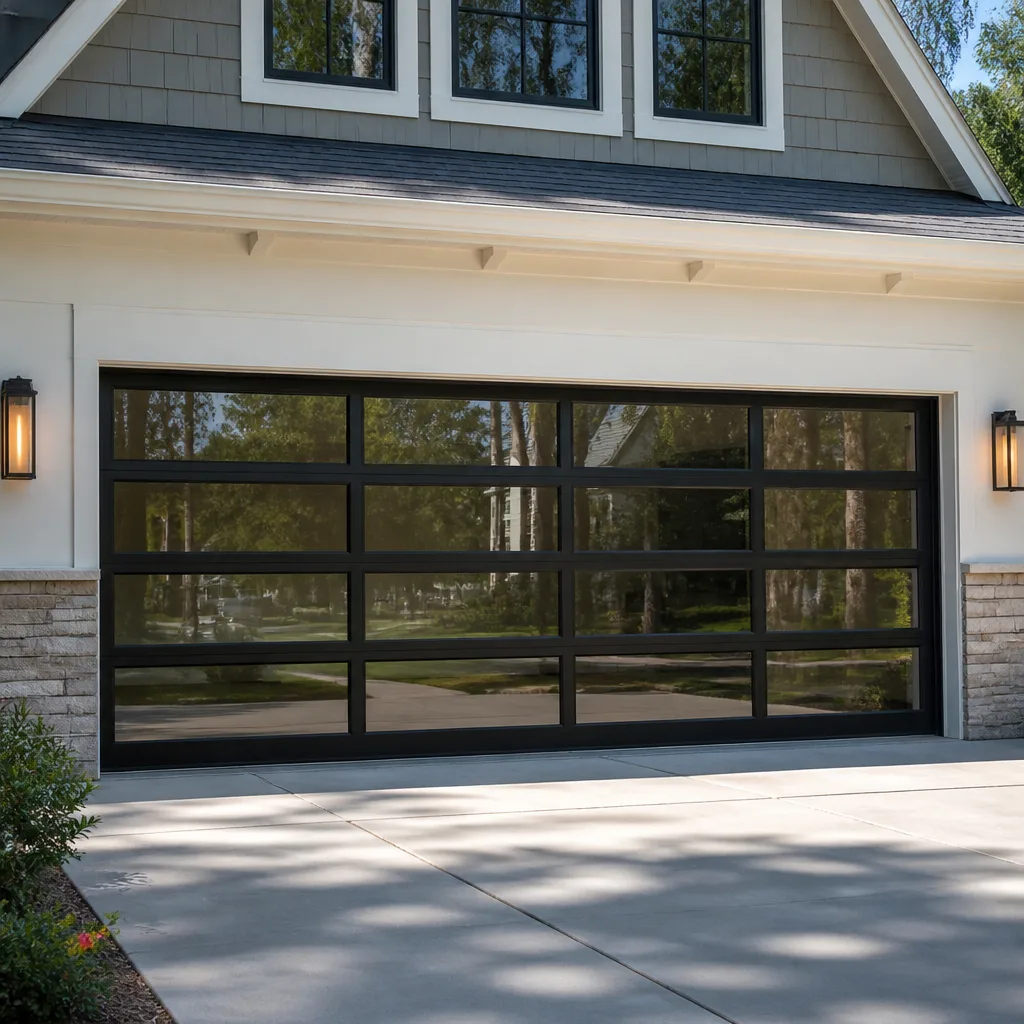 Full-view glass
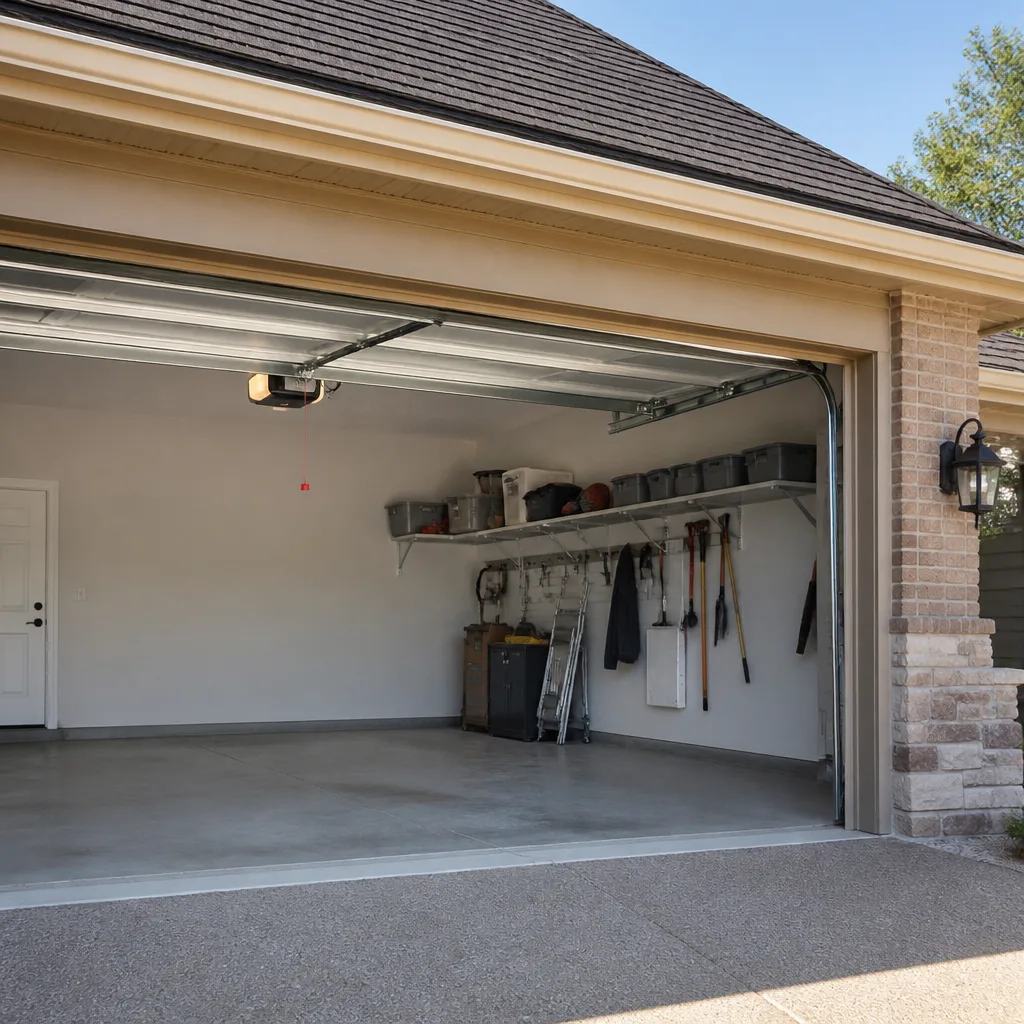 LiftMaster openers
 Chamberlain openers
Full 25-point door and opener safety check with every visit - springs, cables, rollers, tracks, and your LiftMaster or Chamberlain opener included
You get a price before we start. It does not change when the pro arrives.
Get your free estimateGarage Door Repair Maintenance Checklist for Pelham Bay Homeowners
The most common reason a garage door fails in winter isn’t age. It’s one missed lubrication point that dried out in October and seized in January. We’ve seen this pattern repeat across Pelham Bay for years: a door that ran quietly all summer grinds to a halt on the first genuinely cold morning, and the culprit is a roller or hinge that nobody thought to touch. The fix takes minutes; the failure can trap a car for days. This guide walks you through a maintenance checklist built around how doors in Pelham Bay actually live – the road salt that migrates off the streets, the humidity that swells off the water each summer, and the fact that many doors here double as a primary home entrance. You’ll learn what to check, when to check it, and where the line sits between a job you can handle and one that needs a trained technician.
Quick Answer
A garage door maintenance checklist for Pelham Bay should follow the local seasonal pattern rather than a generic quarterly schedule: spring tension and balance in early spring, lubrication before summer humidity peaks, weatherstripping and bottom seal inspection before the first freeze, and hardware torque checks as temperatures drop. The five most commonly skipped tasks are lubricating the torsion spring, the bearing plates, the roller stems, the hinges, and the opener rail – all of which dry out and seize if ignored through a Pelham Bay winter.
Styles & brands we work with
- Raised-panel steel
- Carriage house
- Modern flush
- Full-view glass
- LiftMaster openers
- Chamberlain openers
Table of Contents
- Why Generic Maintenance Schedules Fail in Pelham Bay
- The Five Lubrication Points Most Homeowners Skip
- How to Test Spring Tension Safely (Without Tools)
- Weatherstripping Intervals for Pelham Bay Humidity
- Track Alignment Checks That Protect Your Opener
- Small Repairs That Belong on the Checklist
- Your Month-by-Month Pelham Bay Task Calendar
- When to Call a Professional
Why Generic Maintenance Schedules Fail in Pelham Bay
Most garage door maintenance advice is written for a climate that doesn’t exist in Pelham Bay. The standard “check it every three months” reminder assumes mild, consistent weather and a door that opens and closes a handful of times a week. Neither assumption holds up here. Pelham Bay’s summers bring humidity spikes that swell wood door frames and soften rubber seals, while winters bring the freeze-thaw cycles that harden and crack weatherstripping and shrink the metal components just enough to shift alignment.
There’s a second local factor that almost never gets mentioned: road salt. During the colder months, the streets around Pelham Bay are treated heavily, and that salt migrates onto garage floors, frames, and the bottom of the door itself. It doesn’t cause the dramatic rust that coastal air produces, but it does collect on metal hinges and roller stems and accelerate wear if it isn’t cleaned off. Doors that face the street get the worst of it.
And then there’s usage. In Pelham Bay, a lot of garages aren’t used purely for parking. They’re the primary entrance to the house, or they hold a washer and dryer, or they serve as storage that gets accessed daily. A door that cycles ten or fifteen times a day wears at a completely different rate than one that cycles twice. That difference matters when you’re deciding how often to inspect.
- Humidity: swells wood, softens rubber, and stresses the bottom seal from May through September.
- Freeze-thaw: hardens weatherstripping and shrinks metal, opening gaps at the frame.
- Road salt: collects on the door bottom and hinges, accelerating corrosion on untreated hardware.
- High-cycle usage: a door used as a home entrance needs lubrication and inspection more often than a standard door.
If you want the full picture of what a proper inspection covers, our Garage Door Repair Pelham Bay page lays out the service arc from a single hinge to a full replacement.
The Five Lubrication Points Most Homeowners Skip
Lubrication is the single highest-return maintenance task on a garage door, and it’s also the one most people do incompletely. The track itself gets oiled because it’s visible and obvious. The five points that actually seize are underneath and behind, where nobody looks until something starts squealing. Here they are, in order of how often they’re missed:
- The torsion spring coil. The spring above the door takes the entire weight of the door. Its coils rub against each other every cycle. A dry spring binds, pops, and eventually snaps. A light coat of lubricant on the coils costs nothing and adds real life.
- The bearing plates. These sit at each end of the torsion shaft. They’re out of sight behind the door track, and they dry out faster than anything else on the door. A dry bearing plate is often the source of a high-pitched squeal that homeowners blame on the opener.
- The roller stems. The roller itself rides in the track, but the stem is the shaft the roller spins on. Lubricant on the roller face does nothing for the stem. The stem is where the friction lives.
- The hinges. Every hinge pivot point on a sectional door needs a drop of lubricant. A door with six panels has several hinges on each side. Missing even one creates a snap or rattle on the way up.
- The opener rail and trolley. The rail the trolley rides along needs a thin film of lubricant, and the trolley itself needs a drop at the pivot. This is the point that most often gets blamed on a failing opener when the opener is fine.
What to Use – and What Not To
The product matters more in an urban or semi-urban environment than most guides admit. Light household oil attracts grit and dust, and once grit gets into a hinge joint it works like sandpaper. A white lithium grease or a garage-door-specific silicone spray stays where you put it, doesn’t run, and doesn’t collect road dust the way oil does. Avoid WD-40 as a lubricant – it’s a solvent, not a long-term lubricant, and it will dry out and leave the joint drier than before.
We’ve seen doors with Genie and LiftMaster openers where the entire “opener failure” diagnosis turned out to be a dry trolley pivot. Before anyone replaces a motor, the lubrication points deserve a look. When an opener genuinely does fail, our garage door opener repair service covers the diagnosis and the fix.
How to Test Spring Tension Safely (Without Tools)
Spring tension is the one part of garage door maintenance where a wrong move can cause serious injury. A torsion spring under load stores enough energy to break bones or worse, and a spring that fails while someone is underneath it is a genuine emergency. This section is about testing, not adjusting or repairing. You can safely assess whether a spring is sound. You should never attempt to adjust, wind, unwind, or replace one yourself.
The Balance Test
The balance test tells you whether the springs are still carrying the door’s weight properly. Here’s how it goes:
- Close the door fully and pull the opener release cord so the door is disconnected from the opener.
- Lift the door by hand to about waist height – roughly halfway open.
- Let go and step back. Do not stand under the door.
- A balanced door stays roughly where you left it. A door that drops quickly is losing spring tension and needs attention.
- A door that feels extremely heavy to lift, or won’t lift at all by hand, means the spring has likely failed.
That’s the whole test. No tools, no disassembly, no adjustments. What the result tells you is whether to call someone.
The Threshold That Means Weeks, Not Months
A door that passes the balance test but fails a visual inspection is often closer to failure than the owner realizes. Look at the torsion spring above the door – the coil that runs horizontally across the shaft. If you see a visible gap between the coils when the door is closed, or any sign that the spring has separated, that’s a spring on its way out. A gap of a quarter inch or more between coils is the point where replacement becomes a matter of weeks rather than months. If the door makes a loud bang at some point and then suddenly runs light or won’t lift at all, the spring has snapped and the door should not be operated until a technician assesses it.
This is the repair we treat with the most care. Our dedicated spring repair service exists because spring work is the most commonly mishandled job on a garage door, and it’s the one most likely to injure a homeowner who tries it alone. When a spring in Pelham Bay needs replacing, the garage door repair link at the top of the page will show you the full scope of what we handle.
Weatherstripping Intervals for Pelham Bay Humidity
Weatherstripping is the part of the door that takes the most punishment from Pelham Bay’s seasonal swings, and it’s the part most homeowners notice last. The bottom seal and the frame seal are what keep out water, drafts, and pests. When they fail, water gets behind the door, the frame rots, and the door starts to bind. Knowing when to inspect matters more than knowing how.
In Pelham Bay, the key inspection intervals are:
- Mid-spring, before the humidity arrives: check the bottom seal for softness, cracking, or a gap at the floor. This is when the seal is most pliable and easiest to evaluate.
- Late summer, after the humid stretch: check the frame seal and the sides of the door. Humidity swells the frame and can pull the seal loose at the corners.
- Late fall, before the first freeze: check the bottom seal again. Freeze-thaw is what hardens and cracks rubber, and a hardened seal lets cold air and snowmelt in all winter.
A bottom seal that’s dried out and cracked is a straightforward fix. A frame seal that’s pulled loose at the corners is usually a sign the frame has swollen unevenly, which can also cause track misalignment. The two problems often travel together. If you’re already replacing a bottom seal, take five minutes to check the tracks while you’re down there.
For a door that needs more than a seal – a full replacement or a new installation – our garage door installation page covers what a new door involves from measurement to final balance.
Track Alignment Checks That Protect Your Opener
Misaligned tracks are the most expensive “small” problem on a garage door, because they rarely stay small. A track that’s off by a quarter inch forces the opener to work harder on every cycle, and the motor is what fails first. Homeowners often replace a perfectly good opener when the real problem was a track that had shifted after a temperature swing or a bump from something in the garage.
Here’s what to look for, and it’s all visual:
- The gap between tracks. Stand inside the garage and look at the vertical tracks on both sides. The gap between the track and the door edge should be consistent top to bottom on both sides. An uneven gap means one track has shifted.
- The horizontal track angle. The horizontal tracks should slope slightly down toward the back of the garage – this is what lets the door settle gently closed. If one side slopes more than the other, the door will bind on that side and the opener will work against it.
- Loose track brackets. The brackets that hold the tracks to the wall are the fasteners that back out first. A loose bracket lets the track move when the door cycles.
- Curved track at the transition. The curved piece where the vertical track meets the horizontal track is where binding most often starts. Look for wear marks or a shiny spot inside the curve.
None of this involves tools. If a track is visibly out of alignment, or if the door rubs on one side on the way up, that’s a technician job. Track adjustment requires releasing the tension and re-squaring, and doing it wrong can drop the door.
Doors from Clopay and Amarr that we service in Pelham Bay tend to hold their track alignment well, but they still shift after a hard temperature drop. It’s worth a visual check after the first cold snap each year.
Small Repairs That Belong on the Checklist
A good checklist isn’t just inspections – it’s the small repairs that keep a door from becoming a bigger job. These are tasks that are genuinely safe for a homeowner and that prevent the kind of wear that leads to a technician call. If a door in Pelham Bay gets these done once or twice a year, most of the premature failures we see never happen.
- Clean the bottom seal. Salt, grit, and road dirt collect on the bottom seal and grind against the floor on every close. Wipe it down with a damp cloth, especially during the salt season.
- Wipe the hinges and roller stems. A dry cloth pass removes the grit that lubricant would otherwise trap. Do this before you apply any lubricant, not after.
- Tighten visible fasteners. The bolts on the hinges and the brackets holding the tracks can work loose over a season. A quick pass with a wrench on anything that’s visibly loose is safe and worthwhile.
- Test the safety reverse. Place a piece of wood flat on the floor under the door and close it. The door should reverse on contact. If it doesn’t, the opener’s safety system needs attention before the door is used again.
- Check the photo-eye alignment. The two sensors at the bottom of the tracks should have their lights on and pointed at each other. A misaligned sensor is the most common reason a door won’t close.
- Clear the track of debris. Road grit, leaves, and small stones collect in the track and can derail a roller. A dry brush pass keeps the track clean.
A Wayne Dalton door with a steel back, common in Pelham Bay garages, takes road salt worse than a wood door because the steel holds the salt against the hinges. Those doors benefit from a more frequent wipe-down during the salt months.
Your Month-by-Month Pelham Bay Task Calendar
A generic four-season schedule doesn’t map onto Pelham Bay’s actual weather. The local pattern runs from a humid summer into a freeze-thaw winter with a short, wet spring and fall in between, and the tasks should follow that pattern rather than an arbitrary quarterly split. Here’s the calendar, timed to when each task actually matters here:
March – Early Spring
- Balance test on the door to check spring tension after the winter.
- Inspect the bottom seal for freeze damage.
- Visual check of the tracks after the cold season.
April – Spring
- Full lubrication of all five points, before the humidity climbs.
- Wipe down hinges and roller stems before lubricating.
- Test the safety reverse and photo-eye alignment.
May – Late Spring
- Check the frame seal for looseness as the wood starts to swell.
- Tighten visible fasteners.
- Clean the tracks of winter grit and road salt residue.
June through August – Summer
- Watch for binding as humidity peaks. A door that suddenly rubs on one side is feeling the swell.
- Re-lubricate the torsion spring if the door starts to squeal.
- Check the bottom seal for softness or separation.
September – Early Fall
- Second lubrication pass before the cold arrives.
- Inspect the frame seal for drying or cracking.
- Clean road salt and grit off the door bottom.
October – Fall
- Weatherstripping inspection – this is the critical one before the first freeze.
- Balance test again to confirm spring tension is holding.
- Full track alignment check.
November and December – Early Winter
- Final lubrication of the hinges and bearing plates.
- Wipe salt off the door bottom after any snow event.
- Test the safety reverse again as temperatures drop.
January and February – Deep Winter
- Listen for new noises. Cold shrinks metal and exposes loose fasteners.
- Check for drafts around the frame seal.
- Watch for a door that runs heavy or won’t stay up – a sign a spring is losing tension.
If you follow this calendar, the October lubrication and weatherstripping checks are the two that prevent the most winter failures in Pelham Bay. That’s where the October-dried-out-seized-in-January pattern starts.
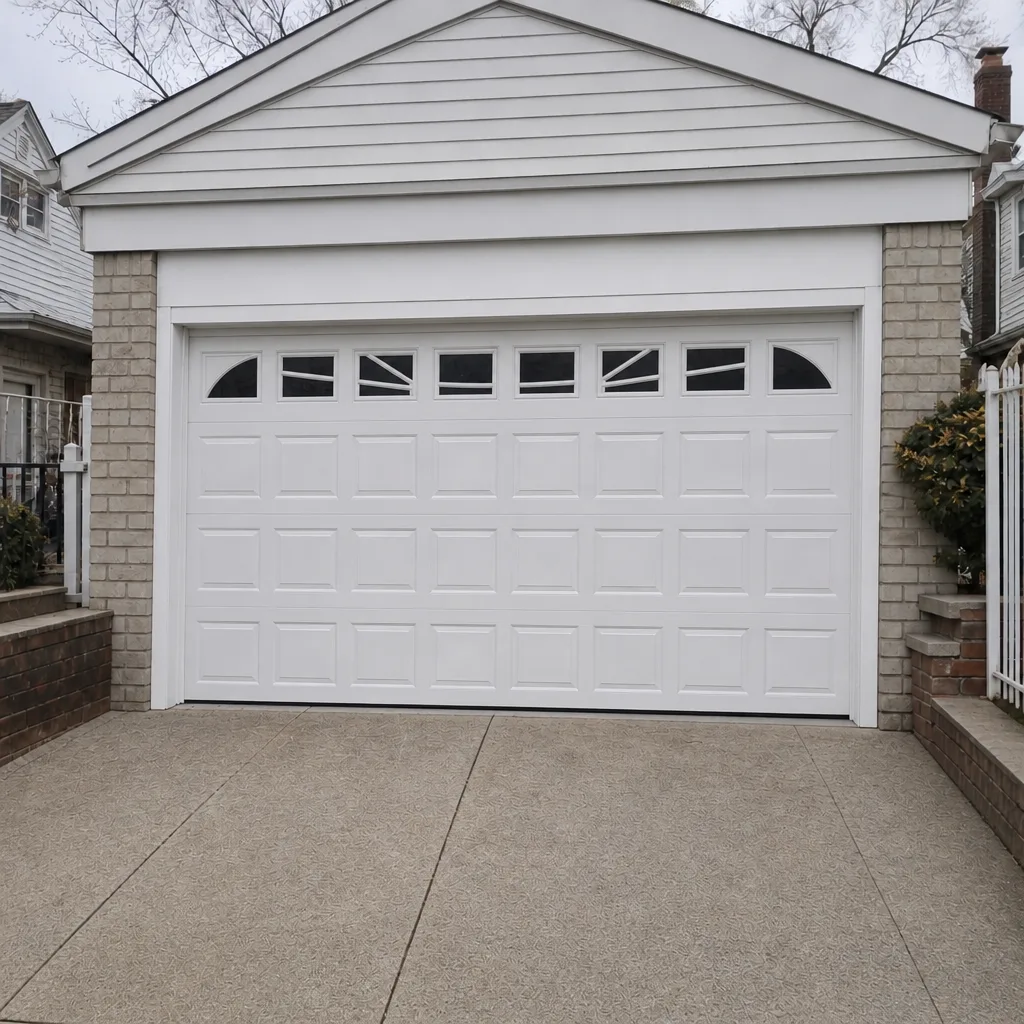
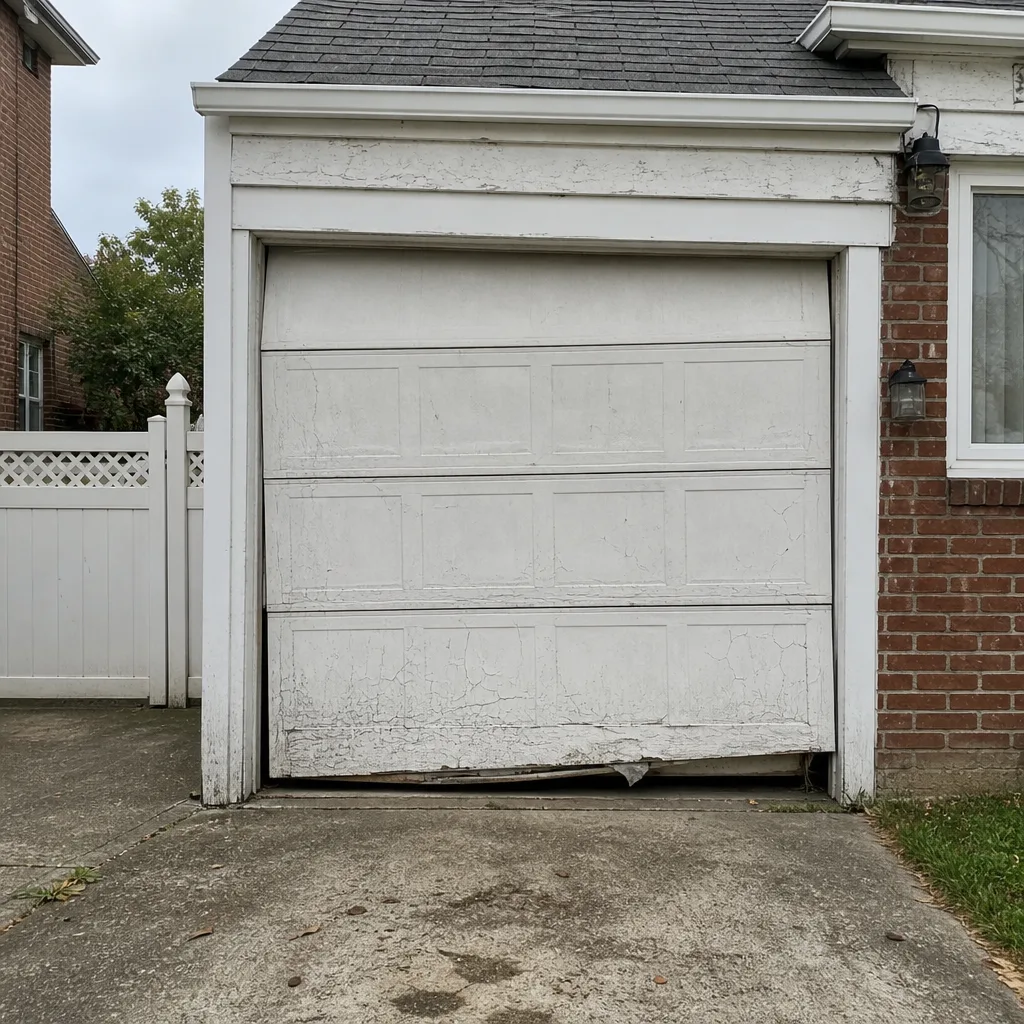
See the difference
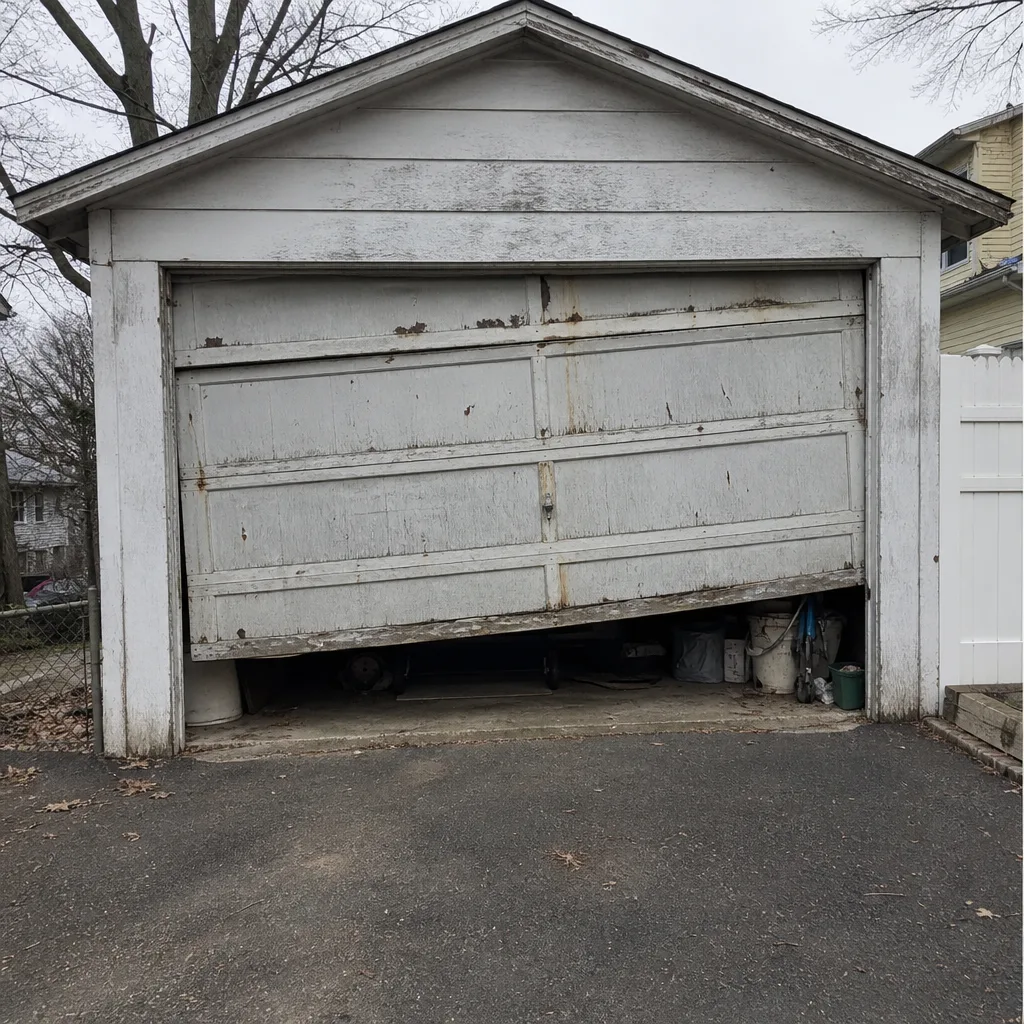 Before
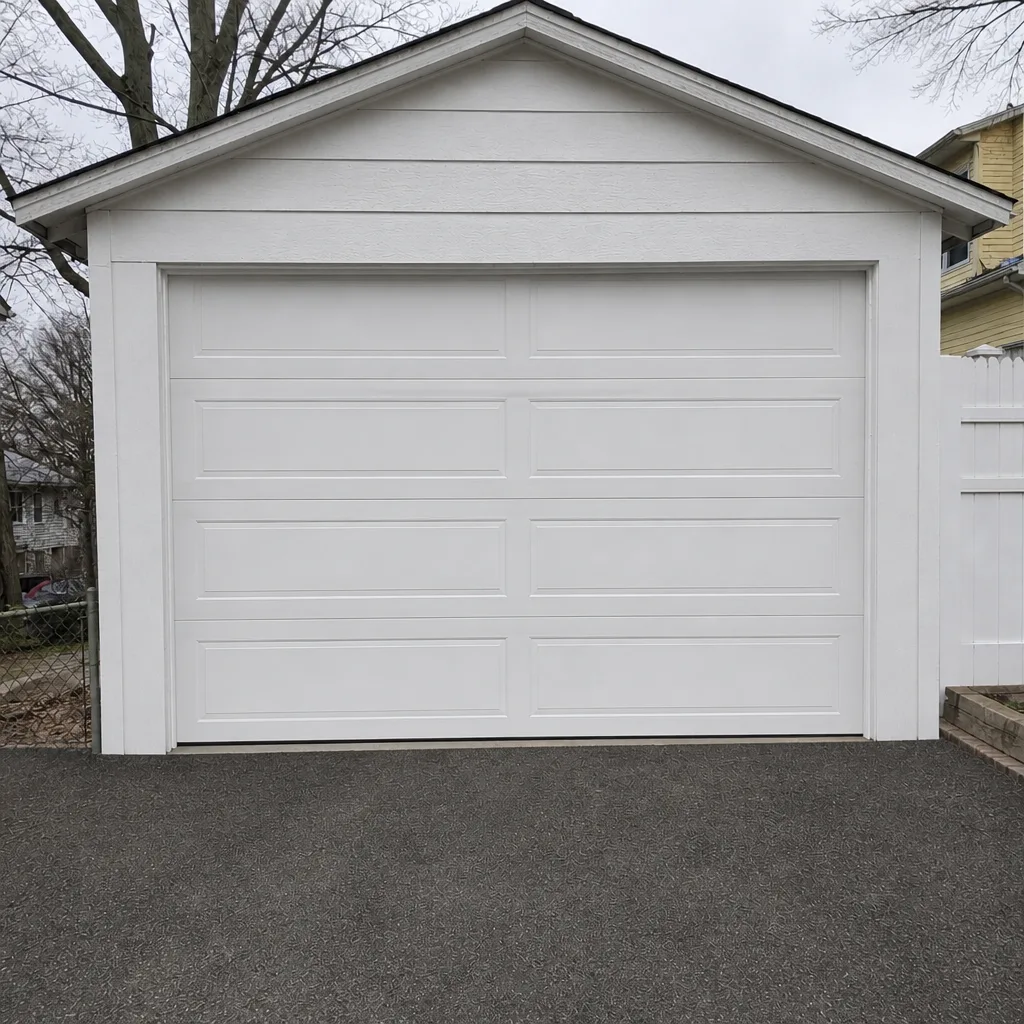 After
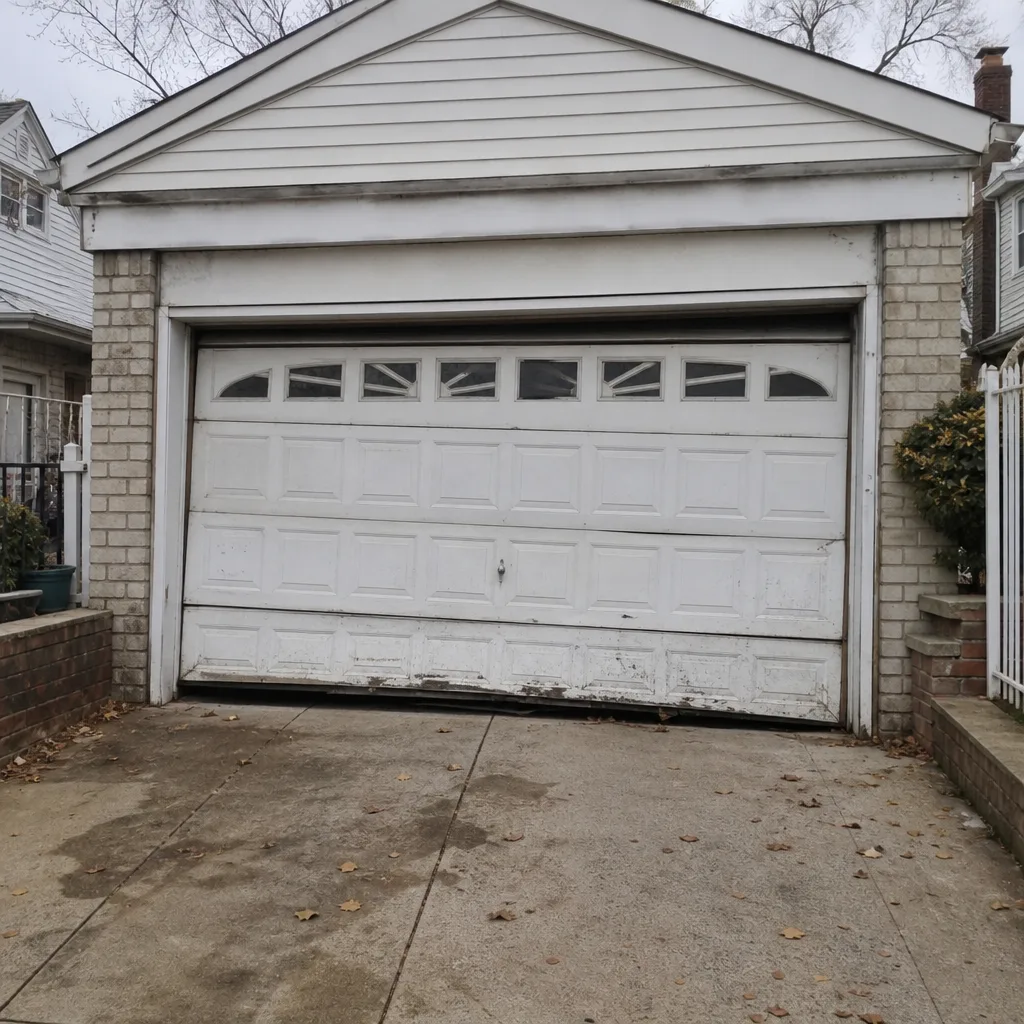 Before
 After
 Before
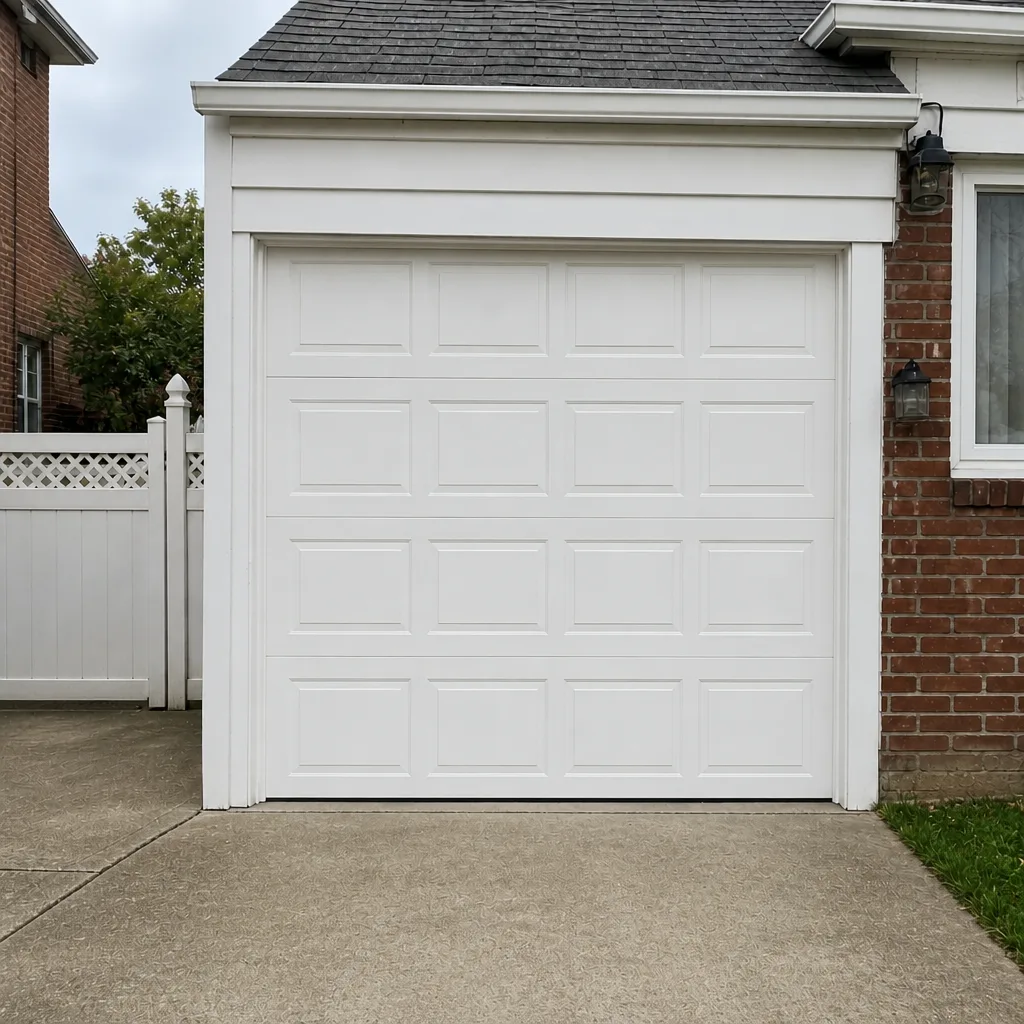 After
Common Mistakes to Avoid
- Lubricating the track itself. The track is meant to be clean and dry – lubricant on the track collects grit and binds the door instead of freeing it. Lubricate the rollers and stems, not the track surface.
- Using WD-40 as a long-term lubricant. It dries out and leaves the joint drier than it started. Use white lithium grease or a silicone spray designed for garage doors.
- Trying to adjust a torsion spring. This is the single most dangerous mistake a homeowner can make. A torsion spring under load stores enough energy to cause serious injury, and adjustment requires tools and training. Call a technician.
- Ignoring a small track misalignment. A quarter-inch shift forces the opener to work harder on every cycle and is the most common cause of premature opener failure in Pelham Bay garages.
- Leaving road salt on the door bottom. Salt collects on hinges and roller stems during the winter and grinds against them. Wipe it off during the salt season instead of letting it sit until spring.
- Skipping the balance test after winter. The freeze-thaw cycle is what does the most spring damage, and a door that passed the balance test in October can fail it by March.
- Replacing an opener when the problem is a dry trolley. A squealing opener is often a dry trolley pivot or a worn bearing plate, not a failing motor. Lubricate before replacing.
When to Call a Professional
Some problems are safe to handle and some aren’t, and knowing the line protects both your door and your safety. Call a professional if the door won’t balance at waist height, if you see a gap between the coils of the torsion spring, if the door runs heavy or won’t lift by hand, if the tracks are visibly out of alignment, or if the door came off the track entirely. Springs, cables, and any part under tension belong to a trained technician – that’s a hard rule, not a suggestion. Opener problems that don’t respond to lubrication, safety-reverse failures, and any door that reverses or binds unpredictably should also be checked by a technician before the door is used again. Garage Door Repair Pelham Bay offers free estimates in Pelham Bay – call (877) 792-6840 to schedule a check. Our technicians have up to 12 years of experience, and every job starts with a quote you agree to before any work begins.
Frequently Asked Questions
A garage door in Pelham Bay should be lubricated at least twice a year – once in spring before the humidity arrives and once in fall before the first freeze – plus a touch-up any time the door starts to squeal. A door that’s used as a primary home entrance should be lubricated more often, closer to three times a year, because the cycling count is higher. The five points that matter most are the torsion spring, bearing plates, roller stems, hinges, and opener rail. If you’d rather have it done right, call (877) 792-6840 for a free estimate.
The five most commonly skipped lubrication points are the torsion spring coil, the bearing plates at each end of the torsion shaft, the roller stems, the hinges on each panel, and the opener rail and trolley. These are the points that dry out and seize if they’re ignored through a Pelham Bay winter. Lubricating the track surface itself is a mistake – it collects grit and binds the door. Use white lithium grease or a garage-door-specific silicone spray, not WD-40. Call (877) 792-6840 if your door needs a professional lubrication and inspection.
A visible gap between the coils of the torsion spring when the door is closed – a quarter inch or more – is the clearest sign a spring is weeks from failing. A door that fails the balance test, runs heavy, or won’t stay at waist height when lifted by hand is also showing spring failure. A loud bang followed by a door that suddenly runs light or won’t lift at all means the spring has already snapped. Never attempt to adjust or replace a torsion spring yourself – call (877) 792-6840 and we’ll assess it.
Pelham Bay’s humidity spikes in summer swell wood frames and soften rubber seals, while the freeze-thaw cycle in winter hardens weatherstripping and shrinks metal. Road salt from the streets migrates onto hinges and roller stems and accelerates wear if it isn’t wiped off during the salt season. The practical result is that weatherstripping and spring tension need checking before the first freeze each fall, and lubrication needs to happen before the humid stretch in late spring. A generic quarterly schedule misses both windows. Call (877) 792-6840 for a maintenance check timed to the local pattern.
No – the price is quoted and agreed before any work starts. We inspect the door, explain what’s actually wrong, and give you a written price for the repair or replacement. If the scope changes after we start – a hidden problem behind a panel, for example – we stop and re-quote before proceeding. You’re never handed an invoice bigger than the quote. That’s the standard on every Pelham Bay job, from a single hinge to a full installation. Call (877) 792-6840 for a free estimate.
Yes – the local professional we connect you with is licensed and insured as their state requires. Our technicians have up to 12 years of experience and work exclusively on garage doors, not as general handymen adding garage doors as a side job. That focus means faster diagnosis and correct parts the first time, whether your door is a Clopay, an Amarr, a Wayne Dalton, or a Genie opener. Call (877) 792-6840 and we’ll schedule a visit.
The Bottom Line
A maintenance checklist works when it’s timed to the actual stressors a door faces, and in Pelham Bay those stressors are specific: summer humidity that swells frames and softens seals, winter freeze-thaw that hardens rubber and exposes loose hardware, road salt that collects on hinges during the cold months, and the higher cycling count of a door used as a primary entrance. The two checks that prevent the most winter failures are the October lubrication and weatherstripping passes. Springs, cables, and tracks are technician territory – never adjust a torsion spring yourself. If your door fails the balance test or shows a gap in the coils, that’s a call, not a project. Pelham Bay homeowners can reach Garage Door Repair Pelham Bay at (877) 792-6840 for a free estimate on any repair or installation.
Written by the team at Garage Door Repair Pelham Bay.