Last updated November 21, 2026
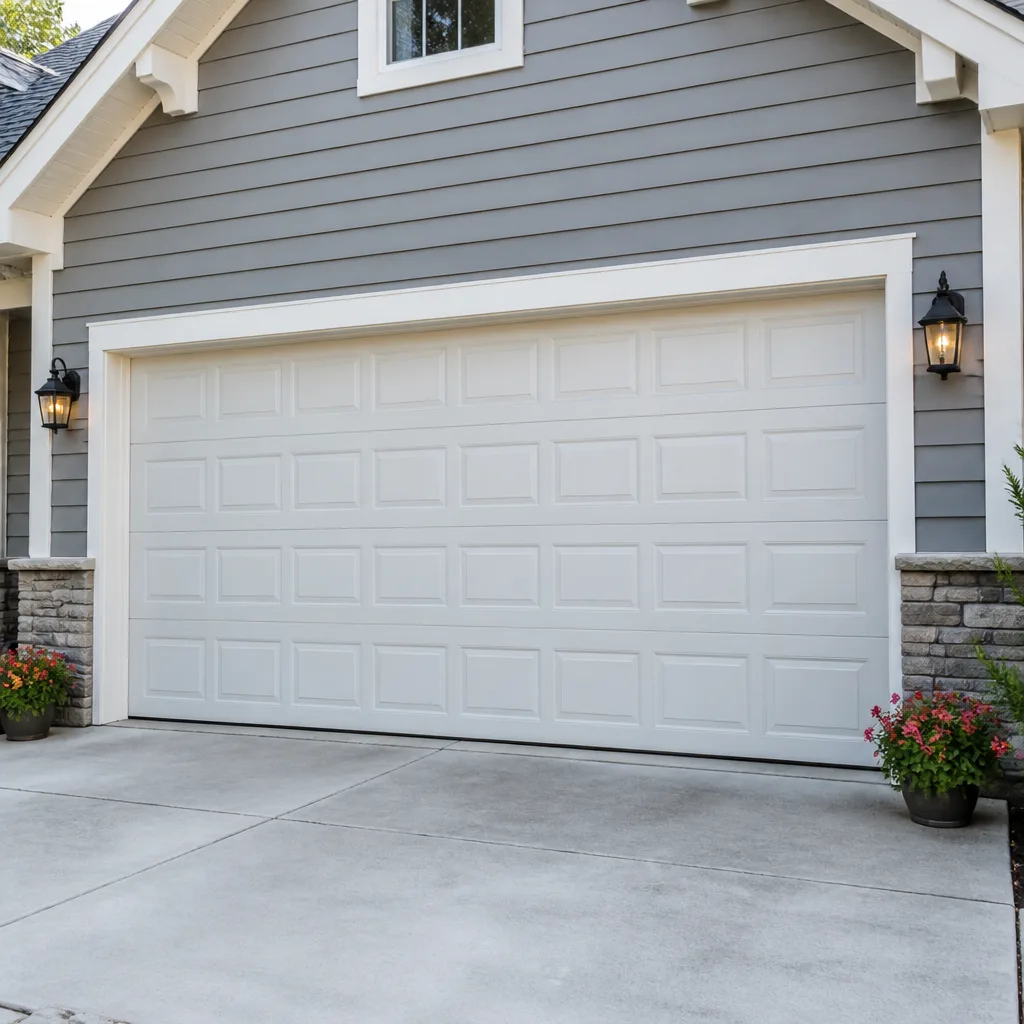 Raised-panel steel
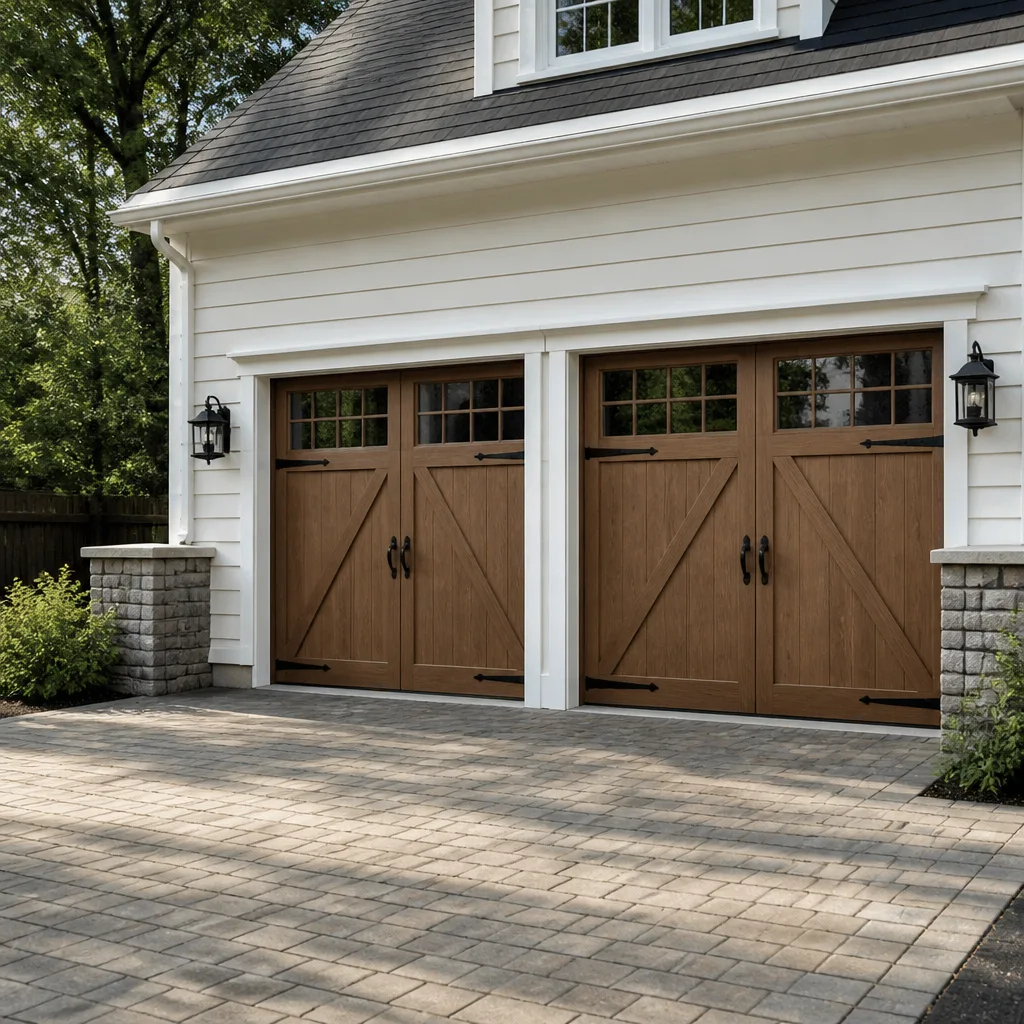 Carriage house
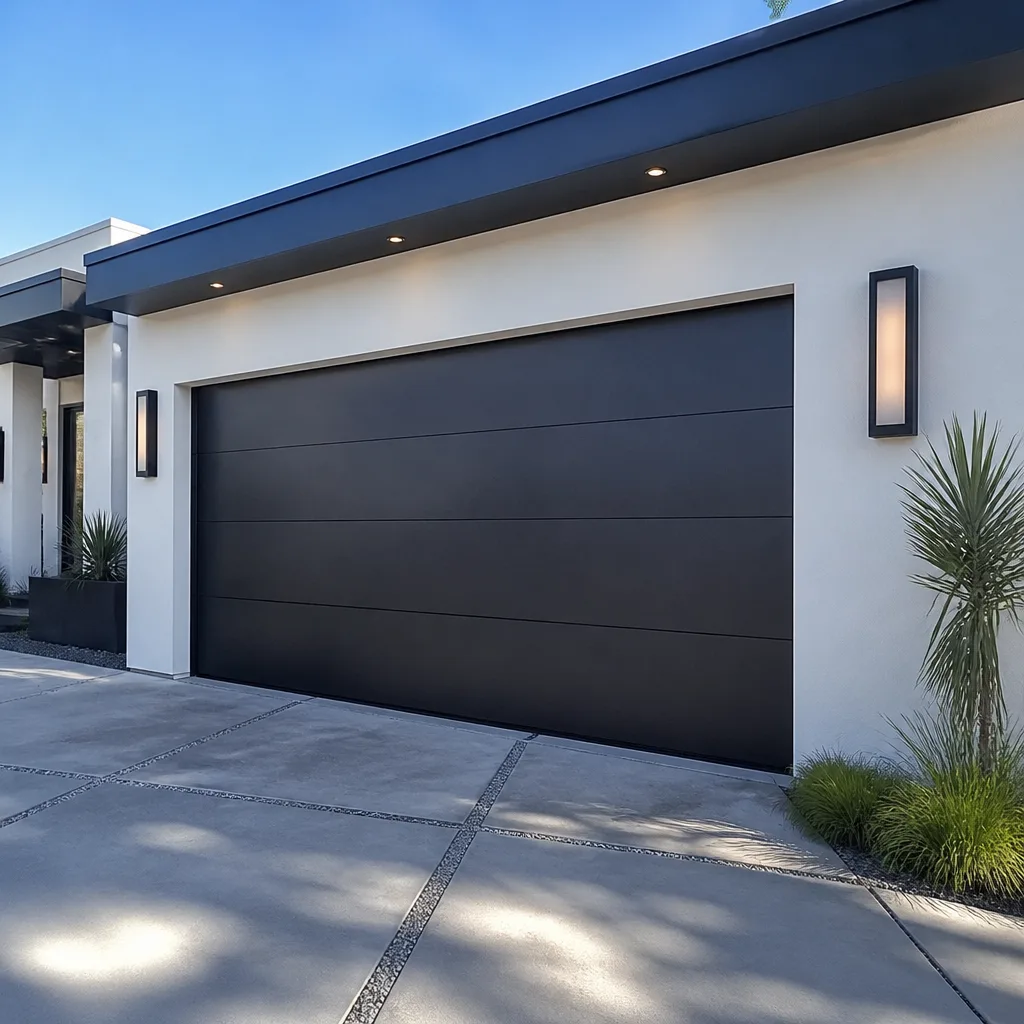 Modern flush
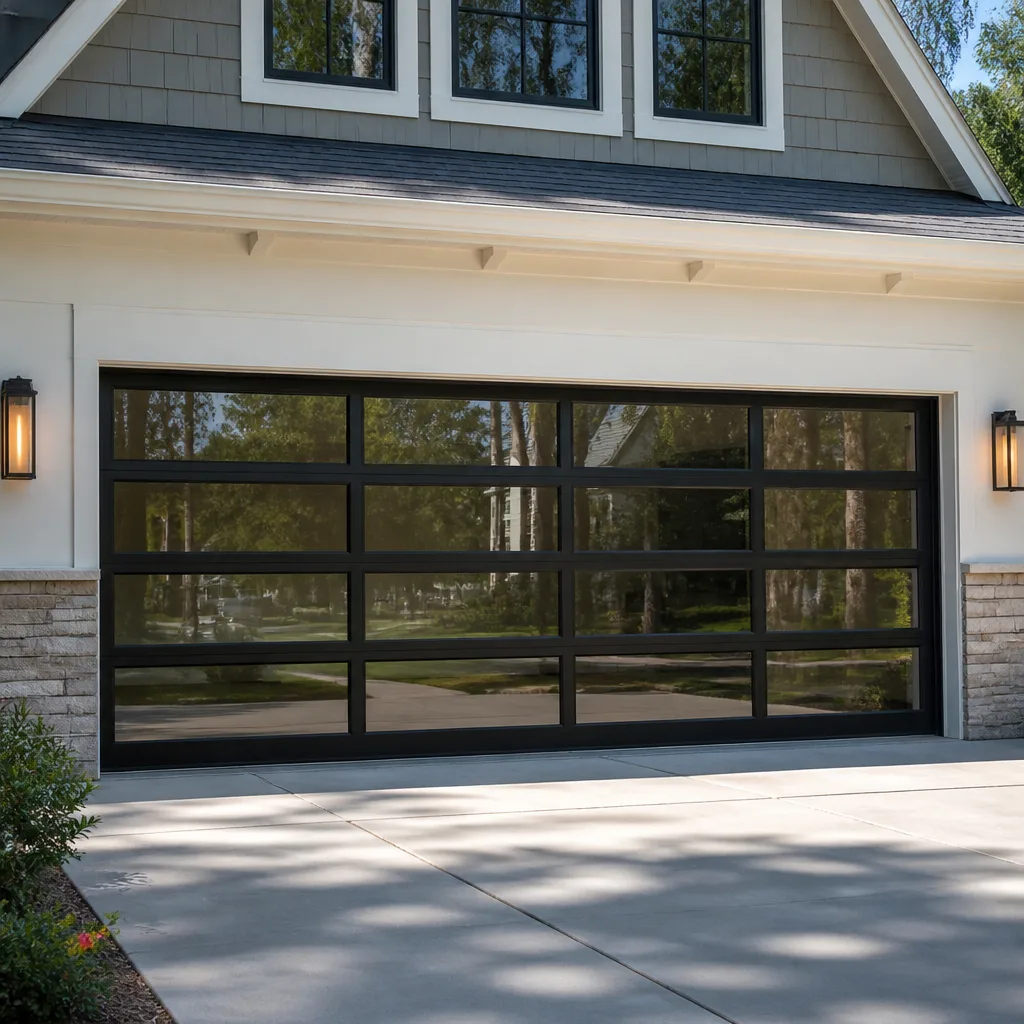 Full-view glass
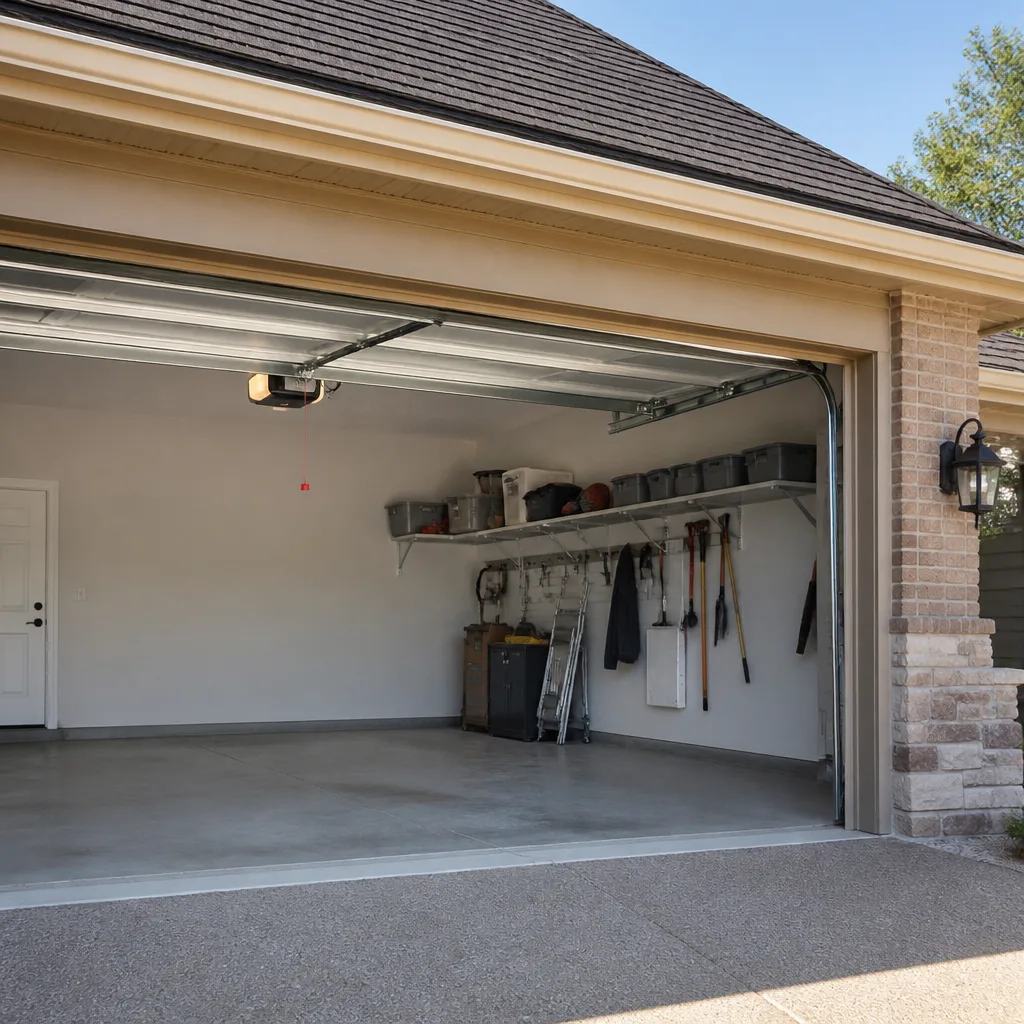 LiftMaster openers
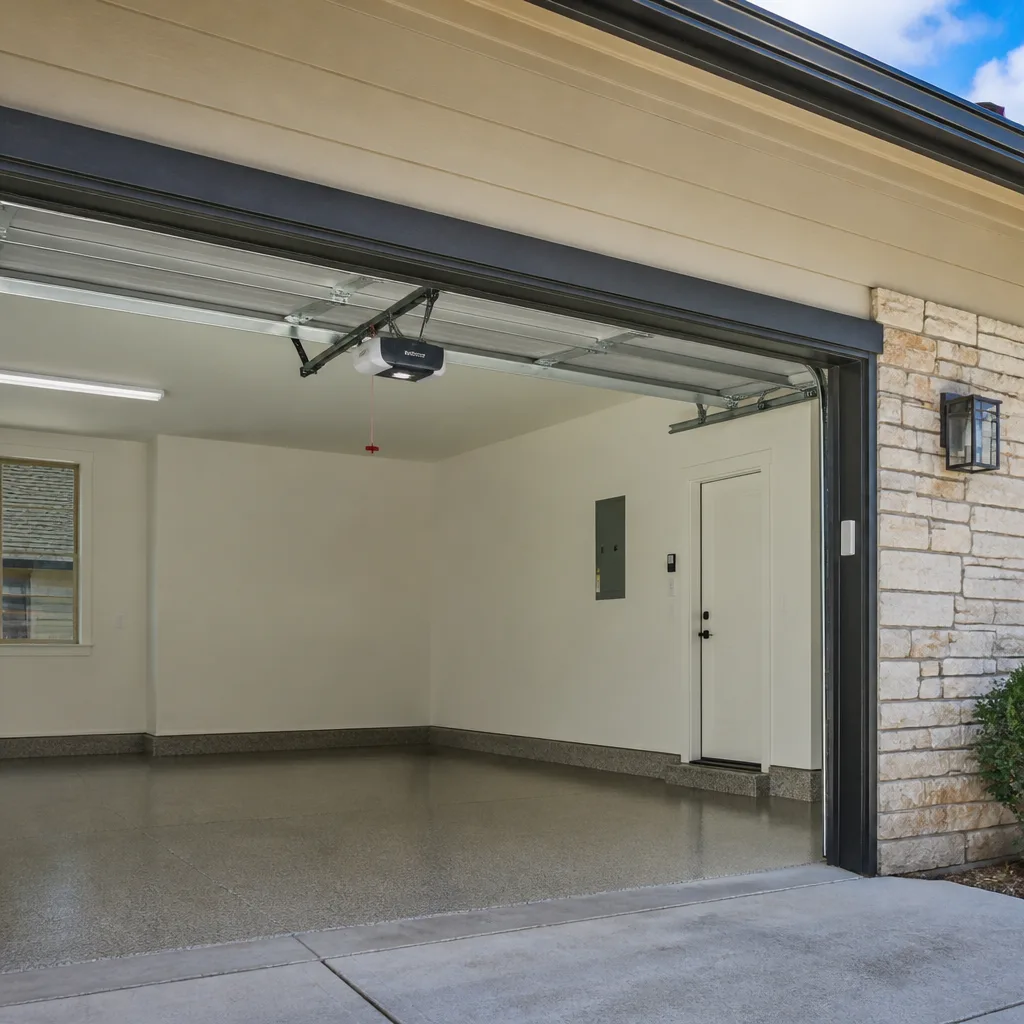 Chamberlain openers
Full 25-point door and opener safety check with every visit - springs, cables, rollers, tracks, and your LiftMaster or Chamberlain opener included
You get a price before we start. It does not change when the pro arrives.
Get your free estimateGarage Door Repair Troubleshooting in Pelham Bay: Common Problems and How to Fix Them
Here’s the counterintuitive part: a garage door that reverses before closing and a door that won’t move at all usually look like two completely different problems, but they trace back to the same handful of root causes more often than most homeowners expect. That matters because the fix for a mechanically stuck door and the fix for an opener that’s misreading its sensors have almost nothing in common. Guess wrong and you’ve spent a weekend on the wrong component. This guide maps everyday symptoms to the actual part that’s failing, walks you through what you can safely check in a Pelham Bay garage, and explains what’s genuinely a technician’s job. By the end, you’ll know which failure category you’re in before anyone touches the door.
Quick Answer
Garage door problems in Pelham Bay almost always fall into one of six categories: spring failure, cable failure, track or roller misalignment, opener or motor trouble, sensor misalignment, or door panel and hardware damage. You can diagnose the category yourself by watching and listening to the door, but spring and cable failures are dangerous and should only be repaired by a trained technician. Identifying the right category before you call means the technician arrives with the correct parts and you get back in service faster.
Styles & brands we work with
- Raised-panel steel
- Carriage house
- Modern flush
- Full-view glass
- LiftMaster openers
- Chamberlain openers
Table of Contents
- The Six Failure Categories That Explain Almost Every Door Problem
- Mechanical or Electrical? How to Tell the Difference
- Symptom-to-Component Mapping: What Each Problem Points To
- How Pelham Bay Conditions Accelerate Specific Failures
- What You Can Safely Inspect Yourself
- How to Describe Your Problem So the Right Parts Arrive
- Springs and Cables: Why This Is Not a DIY Repair
- What Repairs Typically Cost
The Six Failure Categories That Explain Almost Every Door Problem
Every garage door malfunction we encounter fits into six buckets. Learning to sort your symptom into the right one is the single most useful troubleshooting skill a homeowner can build, because each category has its own repair path, its own cost range, and its own urgency level.
- Spring failure. The torsion spring above the door (or the extension springs along the sides on older setups) does the heavy lifting. When it breaks, the door becomes dead weight. A loud bang from the garage followed by a door that won’t rise is the classic signature.
- Cable failure. Cables run from the springs to the bottom corners of the door. A frayed or snapped cable lets the door sag, bind, or sit crooked. This is the second-most-common mechanical failure and one of the most dangerous to touch.
- Track and roller problems. Bent tracks, worn rollers, and popped hinges make the door grind, jump, or drag. These are usually visible from the floor with a flashlight.
- Opener or motor trouble. The door itself moves freely by hand, but the motor won’t run, runs weakly, or trips its breaker. LiftMaster and Chamberlain units are common in Pelham Bay garages, and their error codes point straight to the fault.
- Sensor misalignment. The two small photo-eye sensors near the floor must see each other. If one is bumped, dirty, or blocked, the door reverses on the way down even though the mechanics are fine.
- Panel and hardware damage. Dented panels, loose brackets, and worn bearings don’t usually stop the door, but they strain everything else until they do.
Sorting your problem into one of these six categories immediately tells you two things: whether it’s an emergency, and whether it’s a mechanical fix or an electrical one. That single distinction saves more time than any other step.
Mechanical or Electrical? How to Tell the Difference
The fastest way to separate a mechanical problem from an electrical one is to disconnect the opener and try the door by hand. Every opener has a manual release cord, usually a red handle hanging from the rail. Pull it, then lift the door yourself.
- If the door won’t budge, or feels extremely heavy, the problem is mechanical: a spring, cable, or track issue. The opener can’t overcome a broken spring, and forcing it will burn out the motor.
- If the door lifts smoothly by hand, the mechanics are sound and the problem is electrical: the opener, the sensors, the remote, or the wiring that feeds the unit.
This test is the most valuable minute you’ll spend on the whole diagnosis. In our experience, homeowners who’ve done it arrive at the conversation with a clear answer, which is why the garage door repair visit that follows is more efficient.
A door that reverses before it closes is the interesting edge case. It’s often an electrical issue (misaligned photo-eye sensors), but it can also be a mechanical one (a binding track triggering the opener’s safety reverses) or an opener calibration problem. That’s why we don’t guess on the phone: a sensor sweep and a manual-lift check together point straight to the answer.
Electrical problems have their own recognizable patterns. A motor that hums but doesn’t move the door usually indicates a stripped gear or a failed capacitor. A remote that stops working across the whole unit suggests the logic board or a dead battery. Genie and Chamberlain openers both display diagnostic codes, and those codes are worth writing down before you call.
Symptom-to-Component Mapping: What Each Problem Points To
This is the table we’d hand every Pelham Bay homeowner if we could. Match your symptom to the left column, and you have your most likely culprit on the right.
- Loud bang, door won’t lift, cables loose: broken torsion spring. Do not operate the door.
- Door rises crooked or one side sags: broken or jumped cable, or a worn torsion drum.
- Door reverses immediately after touching the floor: photo-eye sensor misalignment or obstruction.
- Door only opens a few inches and stops: opener travel limit setting, or a binding track.
- Grinding or squealing as it moves: worn rollers, dry hinges, or a bent track.
- Opener hums, door doesn’t move: stripped gear, failed capacitor, or manual release left engaged.
- Remote works intermittently: dead battery, antenna issue, or interference from nearby electronics.
- Door won’t close all the way but goes up fine: limit switch or safety sensor, rarely the mechanics.
- Door feels heavy to lift by hand with opener disengaged: spring tension loss, always a mechanical call.
Notice how many symptoms cluster around the spring and cable assembly. That’s not an accident. The mechanical lift system takes the most load and the most wear, so it’s the most common failure point. If your symptom is on the first four lines of that list, treat it as a spring or cable issue until a technician proves otherwise.
If it’s on the opener lines, you can think of it as an garage door opener repair problem and describe it in exactly those terms. If the door itself is intact but the panels are dented or rusted, or the whole unit is beyond its useful life, that’s a garage door installation conversation instead.
How Pelham Bay Conditions Accelerate Specific Failures
Garages here face a particular set of stressors that you won’t find in a climate-controlled showroom, and knowing them helps you anticipate which failures are more likely in a Pelham Bay home.
Temperature swings. Summer heat expands the metal tracks and springs; winter cold contracts them. That expansion and contraction over a season is what loosens mounting hardware, works roller axles out of place, and puts extra stress on springs. Doors that ran fine in October often start grinding in January, and it isn’t your imagination: the tolerances shifted.
Bay-area humidity near the water. Homes close to the bay get more airborne moisture, which shortens the life of steel springs, accelerates rust on tracks and hinges, and takes a toll on the wiring and circuit boards inside openers. If you live on the water side of Pelham Bay Park, expect to lubricate hinges and rollers more often than someone several blocks inland.
Older construction. Many Pelham Bay homes were built with garages that have settled slightly, throwing a track out of plumb or leaving the header above the door out of level. A door that keeps coming off its track in an older garage often isn’t a door problem at all. It’s a frame problem, and the fix is to adjust the track back to level rather than keep tightening the door.
Tight two-car garages. The classic Pelham Bay two-car setup leaves little room to walk around the car, which means more accidental bumps to the photo-eye sensors and more side impacts to the bottom panels. Sensor misalignment is the single most common false alarm we hear about, and it usually traces back to someone brushing past the bracket while carrying groceries.
Knowing which of these conditions describes your garage tells you which failure category to watch for first. It’s also information worth mentioning when you call, because it helps a technician prioritize the right checks.
What You Can Safely Inspect Yourself
You don’t need a technician to check everything. Some of the most useful information comes from a five-minute walk-around, and none of it puts you in danger as long as you stop at the tension-bearing parts.
Safe to check on your own
- Visual condition of the springs. Look at the torsion spring above the door. A gap in the coil means it’s broken. You’re looking, not touching.
- Track alignment. Stand back and sight down each vertical track. If one is visibly out of line or the door looks like it’s leaning, that’s your answer.
- Rollers and hinges. Rollers that wobble in their brackets or hinges that are visibly worn or noisy are easy to spot with a flashlight.
- Sensor alignment. Look for the two small lights on the sensors near the floor. If one is off or flickering, or the brackets are visibly knocked out of position, you’ve found a likely cause.
- The manual release test. Pull the release cord and try lifting the door by hand to sort mechanical from electrical, as described above.
- Weatherstripping. Cracked, hard seals let water and cold air in. This is a simple replacement part.
Not safe to touch
- Adjusting or replacing springs. The torsion spring is under tremendous load even when it looks relaxed. Never loosen the set screws or the winding bars.
- Tightening or replacing cables. Cables are under constant tension and can whip free without warning.
- Loosening track bolts to realign a track. The door’s weight is on those bolts. Back them off and the door can drop.
- Working under a raised door with a broken spring. There’s nothing holding it up but the opener, and openers aren’t designed to carry the door’s weight.
The rule of thumb: look at everything, and touch nothing that’s under tension. That keeps you safe and gives a technician exactly the information they need.
How to Describe Your Problem So the Right Parts Arrive
One of the biggest reasons a repair takes two trips instead of one is a vague description on the first call. “My door is broken” tells a technician almost nothing; “my door bangs once, then won’t lift, and the cable on the left side is hanging loose” tells them to bring a spring and cable set. Accurate description is how you get back in service today.
Use this checklist when you call:
- What exactly happens? Does the door not move at all? Move partway? Reverse immediately? Grind?
- What do you hear? A single loud bang, a hum with no movement, a grinding noise, or silence?
- When did it start? Sudden or gradual makes a big difference. A snap points to a spring or cable; a gradual decline points to wear or opener settings.
- Does the door move by hand? Say whether you tried the manual release and what happened.
- What brand and model is the opener? LiftMaster and Chamberlain units report specific error codes, and giving us the code saves a diagnostic step. If you don’t know the model, the label inside or on the back of the unit will say.
- How old is the door and opener? An approximate age helps a technician know what parts are likely to be worn.
- Any visible damage? Broken spring, hanging cable, dented panel, off-track door. Say it out loud.
If you can tell us which of the six failure categories your symptom sounds like, even better. It doesn’t replace a professional diagnosis, but it means the technician can load the right parts before heading out. For a routine repair, that’s the difference between one visit and two.
Springs and Cables: Why This Is Not a DIY Repair
Spring and cable work is the one category where we’re firm: call a professional. It isn’t that the parts are expensive or the process is complicated to watch, it’s that both components store energy continuously. A torsion spring is wound tight enough to do serious injury if a winding bar slips, and a cable under load can snap back with very little warning. Neither gives a homeowner a second chance to get it right.
What makes spring work genuinely specialized is that replacement isn’t a matter of swapping one spring for another. A torsion spring has to be matched to the door’s weight and balanced precisely. Get the size or the wind wrong and the door will either sag or refuse to close. This is why we treat Garage Door Repair Pelham Bay as a spring-first operation, with dedicated service for torsion and extension spring replacement rather than treating it as a general repair.
The same urgency applies to cables. A frayed cable might hold for a while, but it’s telling you it’s about to fail, and a failed cable on a two-car door is what puts a door off its track. Replacing a cable is a technician’s job because the cable has to be tensioned against the spring. There’s no safe way to do that from outside the trade.
If your door is hanging by a thread (or by a single cable), stop operating it. Leave it closed, disconnect the opener if you can safely reach the release cord, and call for emergency service. Getting back in service is the goal, and the fastest way to get there is to not make the problem worse.
What Repairs Typically Cost
Homeowners ask about cost before anything else, so here’s the honest picture. These are typical estimated ranges for common garage door repairs, and the written estimate a technician provides sets the final price before any work begins. Prices vary with the part, the door type, and the job, but these are the ballparks you can plan around.
- Torsion spring replacement, single spring: $150 to $250. A matched pair is usually replaced together and runs roughly twice that, since a pair is two springs.
- Extension spring replacement: $90 to $180 per spring, depending on door size and hardware condition.
- Cable replacement: $100 to $200, usually paired with a spring fix.
- Opener repair (gear, capacitor, or logic board): $120 to $300, depending on the part and the brand.
- Sensor replacement or realignment: $75 to $150.
- Roller and hinge replacement (full set): $100 to $200.
- Track realignment: $120 to $250.
A couple of notes. These figures are for repair, not replacement, and they don’t cover new-door installation, which is quoted separately. And the estimate you receive in writing is the number that stands. No surprise invoice after the fact. We quote and agree the price before any work starts.
One more thing: a spring that fails on one side of a pair is usually replaced as a pair, because the second spring is the same age and is likely to fail soon after. Replacing only one is short-term thinking, and the typåically small difference in price between one and two isn’t worth a second breakdown in the middle of winter.
Common Mistakes to Avoid
- Forcing the opener to lift a door with a broken spring. The motor isn’t built to carry the door’s weight, and the result is usually a burned-out motor on top of the spring failure. It turns a small repair into a large one.
- Spraying the torsion spring with lubricant. Lubricant goes on hinges, rollers, and tracks, not on the wound spring or the cables. Oil on a tension spring attracts grit and makes the problem worse.
- Trying to realign a track by loosening the bolts. The door’s weight is on those tracks. This is one of the most common hidden-injury repairs we hear about.
- Mistaking a sensor problem for a mechanical one. In a Pelham Bay garage, a door that reverses at the bottom is more often a bumped photo-eye than a broken part. Check the sensors before assuming the worst.
- Replacing only one spring when you have a pair. The second spring is the same age and under the same load. It’s due, and replacing both gets you a full fix rather than a repeat call.
- Calling a handyman for spring or cable work. A generalist may get a door running, but the two most mechanically dangerous jobs in the trade are exactly where you want a specialist.
- Ignoring a grinding sound because the door still works. Grinding means metal on metal, and worn rollers or a dry hinge will eventually take the track with them. Address it while it’s still a cheap fix.
See the difference
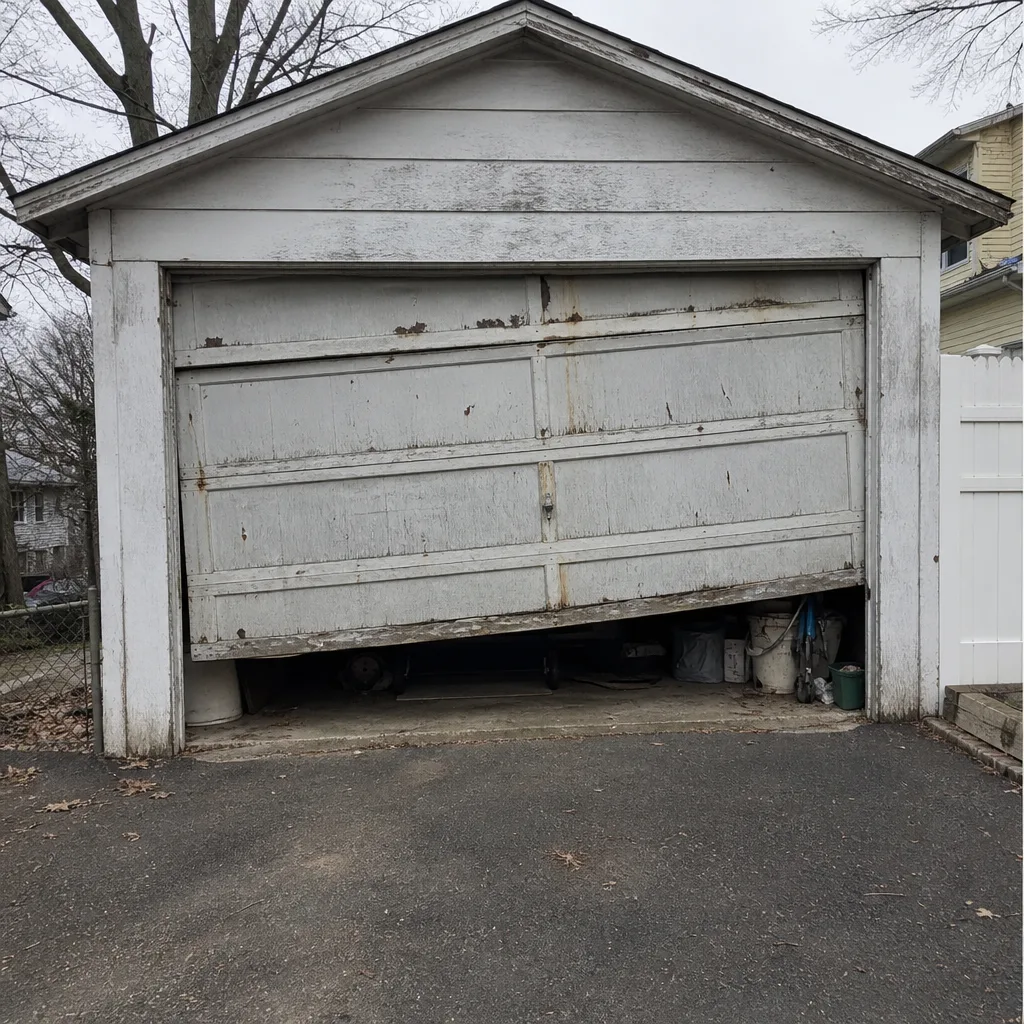 Before
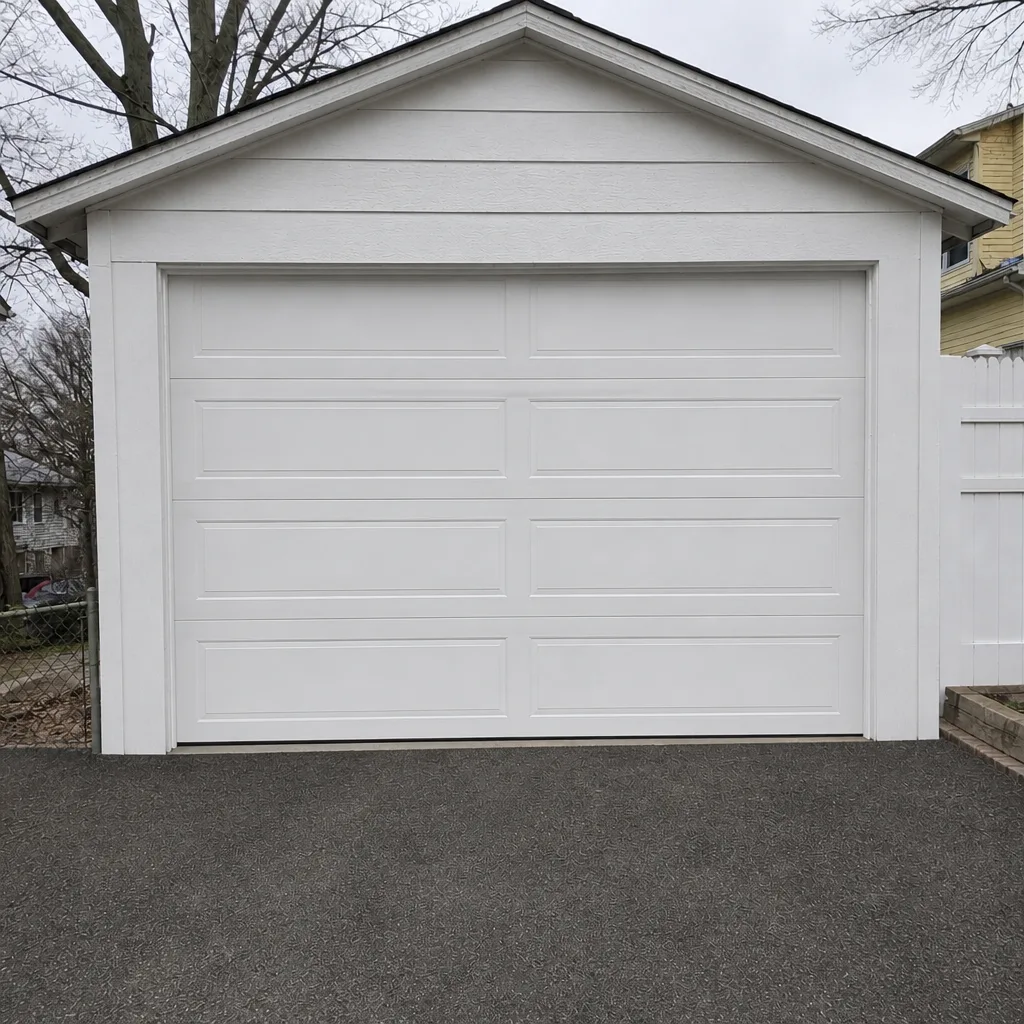 After
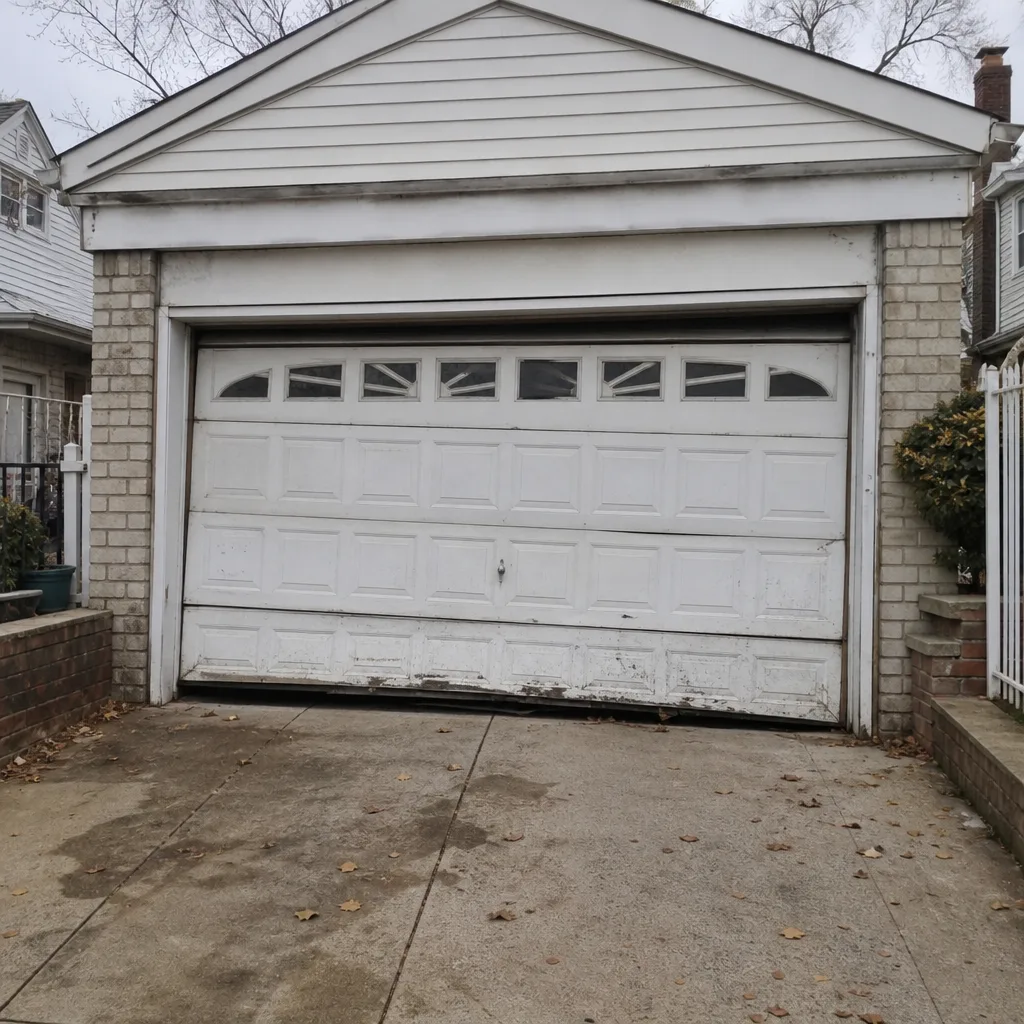 Before
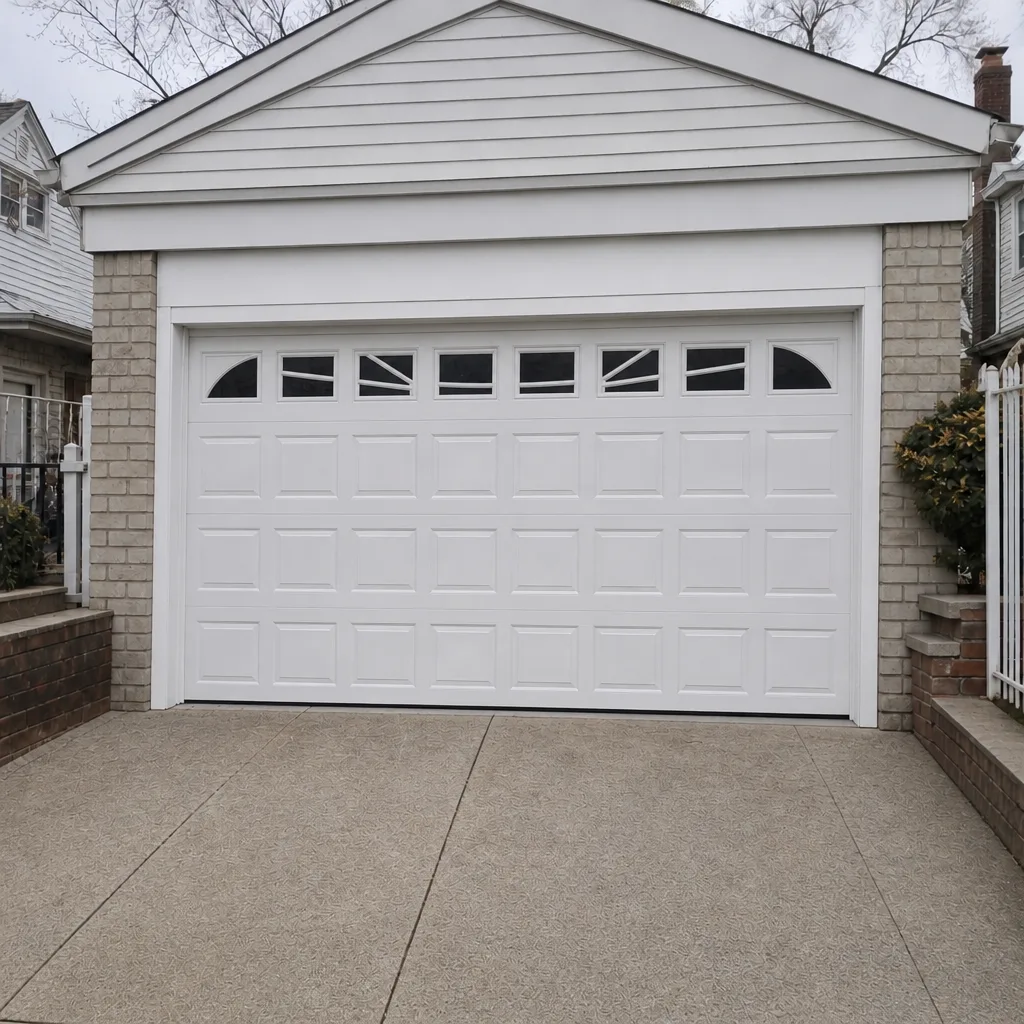 After
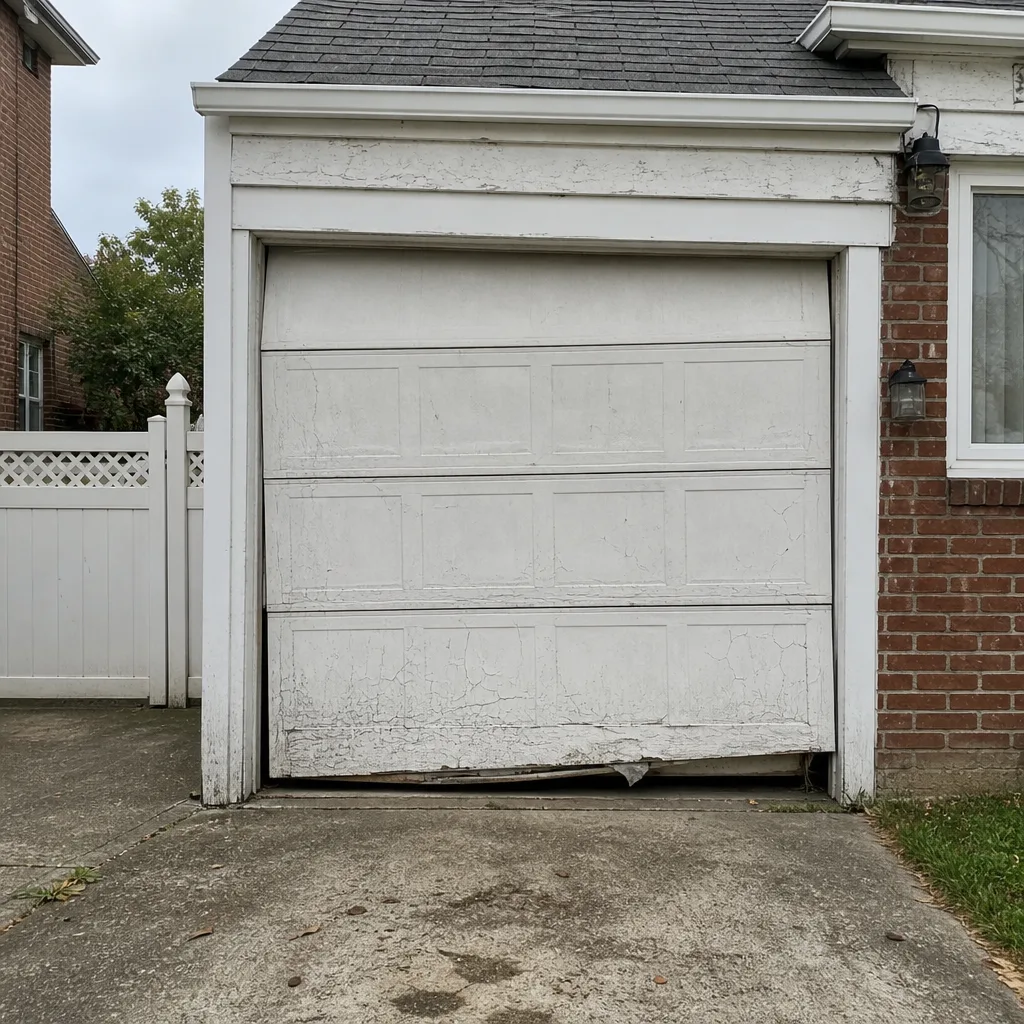 Before
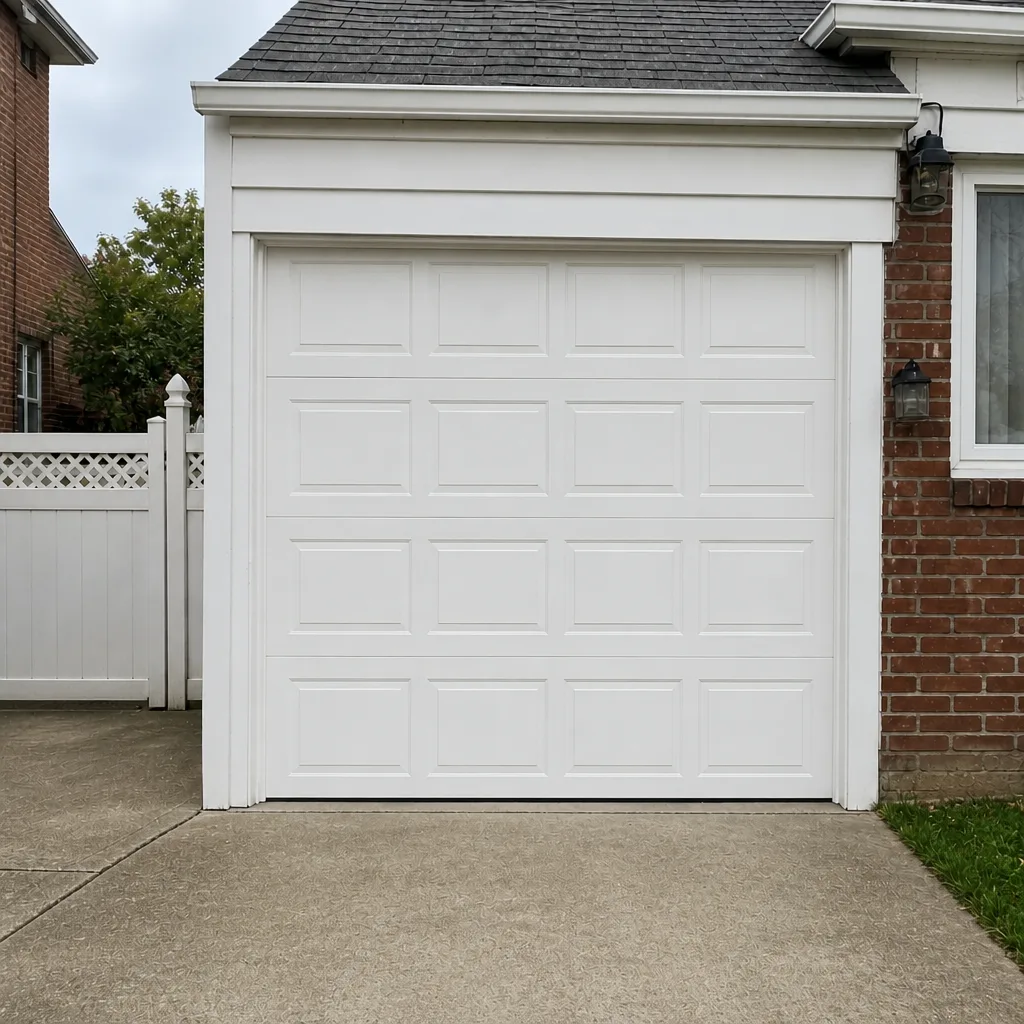 After
When to Call a Professional
Some problems are worth a check on your own. Others are worth a phone call the same day. Call a professional when the door won’t lift, when you see a broken spring or a hanging cable, when the door is off its track or sitting crooked, or when the opener hums without moving. Those are all cases where running the door makes things worse. Call a technician also if the door reverses unpredictably, if the opener is consistently tripping its breaker, or if you’re simply not sure which category your symptom belongs to. A technician’s diagnostic visit answers the question in minutes. Garage Door Repair Pelham Bay offers free estimates in Pelham Bay, and our technicians have up to 12 years of experience with the brands most often installed here. Call (877) 792-6840 to get back in service.
Frequently Asked Questions
The most common cause is a broken torsion spring. A single loud bang from the garage followed by a door that won’t lift is the classic signature, and in a paired-spring system, the other spring usually needs replacing too. The next most common causes are a snapped cable and a misaligned photo-eye sensor. If the door feels extremely heavy when you try the manual release, it’s almost certainly the spring. Call (877) 792-6840 and we can get a technician out to confirm and quote a fix.
You can safely check sensors, look at the springs without touching them, sight down the tracks, and test whether the door moves by hand. You should not adjust or replace springs, touch cables, or loosen track bolts yourself, because those parts store energy and can injure you without warning. If your diagnosis points to a spring or cable, call a professional.
A door that reverses before closing is usually an electrical problem, not a mechanical one. The photo-eye sensors near the floor need to see each other; if one is bumped out of alignment, dirty, or blocked, the door reads an obstruction and reverses. Check that both sensors have a solid light and nothing is in their path. If the sensors look fine and the door still reverses, it’s a limit or travel-setting issue, and it’s worth a technician’s visit. Call (877) 792-6840.
Not meaningfully higher. Common repairs like a spring replacement, a cable fix, or a sensor realignment fall in the same typical ranges you’d see across the region. A single torsion spring runs roughly $150 to $250, and a matched pair costs about twice that. The written estimate you get on site is the final price, agreed before work starts.
Try the manual release test: pull the cord and lift the door by hand. If it’s too heavy to lift, the problem is mechanical (spring or cable). If it lifts smoothly, the problem is the opener or a sensor, and you can narrow it down from the opener’s error code. That single test sorts the issue into the right category before anyone arrives.
We service equipment from eight major brands: LiftMaster, Chamberlain, Genie, Clopay, Amarr, Wayne Dalton, Craftsman, and Raynor. That covers most of the openers and doors installed in Pelham Bay homes, so parts sourcing is quick and the diagnostic path is familiar. If you’re not sure what you have, the label on your opener will tell you, or a technician can identify it on arrival.
The Bottom Line
Almost every garage door problem in Pelham Bay belongs to one of six failure categories, and sorting your symptom into the right one is the whole game. Run the manual release test first: a door that won’t lift by hand points to the spring or cable, and a door that lifts easily points to the opener or sensors. From there, match your symptom to the component and describe it accurately when you call. Inspect what’s safe to inspect, leave the tension parts to a technician, and don’t force an opener to carry a door with a broken spring. That approach gets you the right fix on the first visit, whether you’re dealing with a snapped spring, a misreading sensor, or a worn roller set.
Dealing with a garage door that won’t do its job? Our technicians work on every major brand and handle everything from a single spring replacement to a full new door. Call Garage Door Repair Pelham Bay at (877) 792-6840 for a free estimate and upfront pricing agreed before any work starts.
Written by the team at Garage Door Repair Pelham Bay.