Last updated November 21, 2026
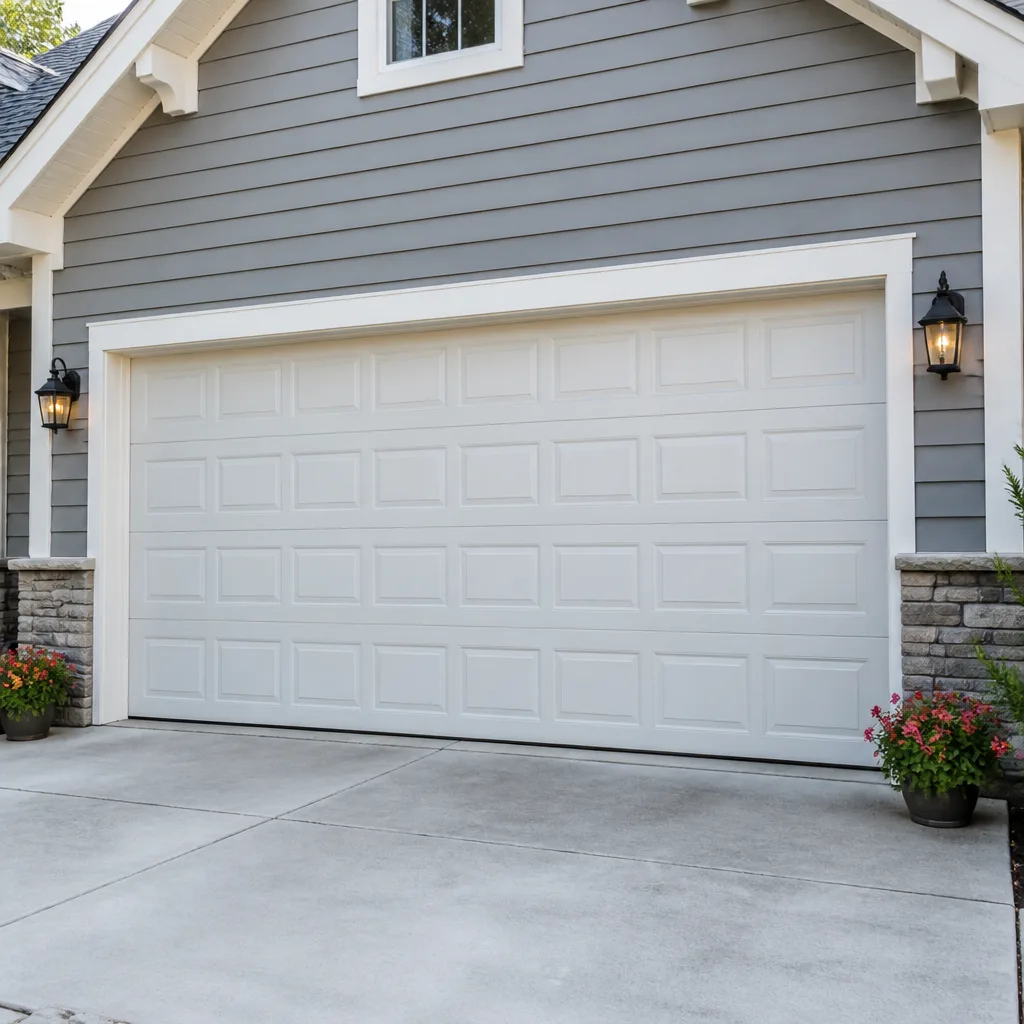 Raised-panel steel
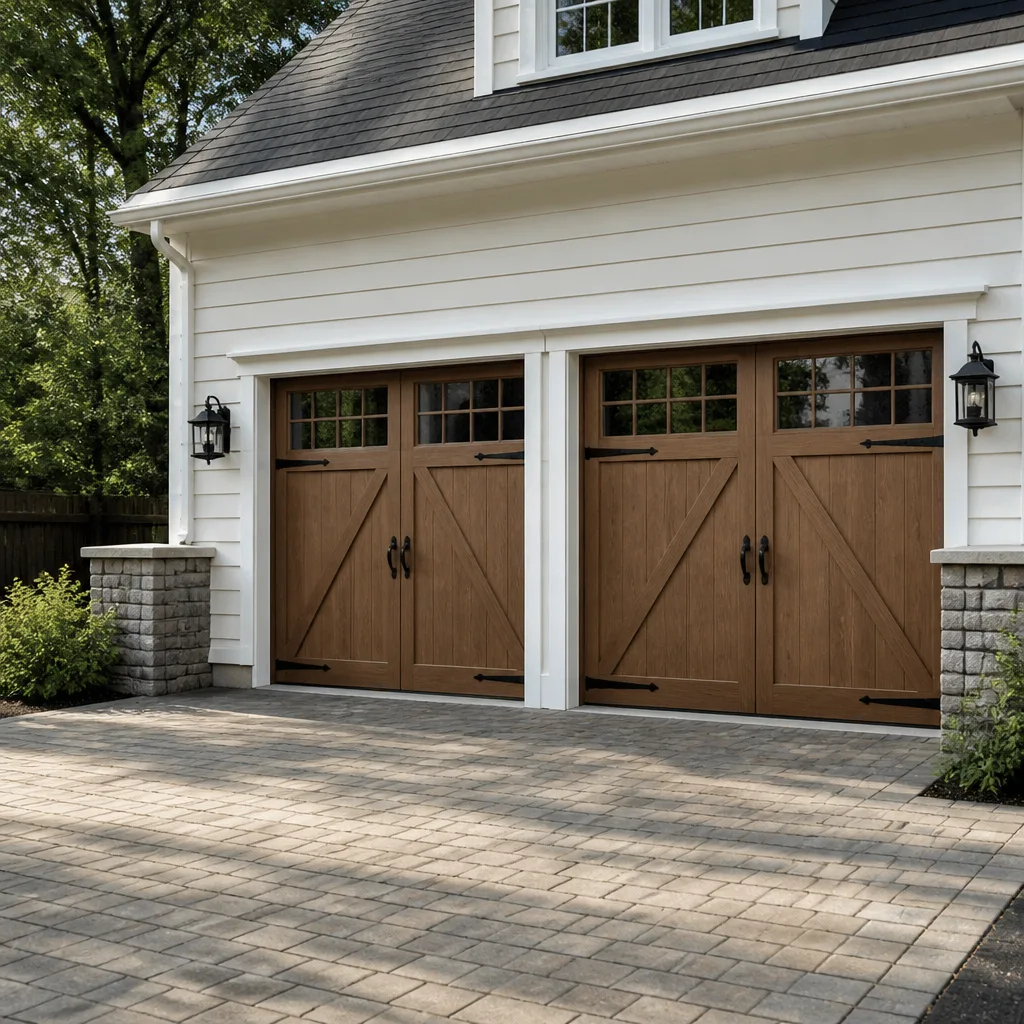 Carriage house
 Modern flush
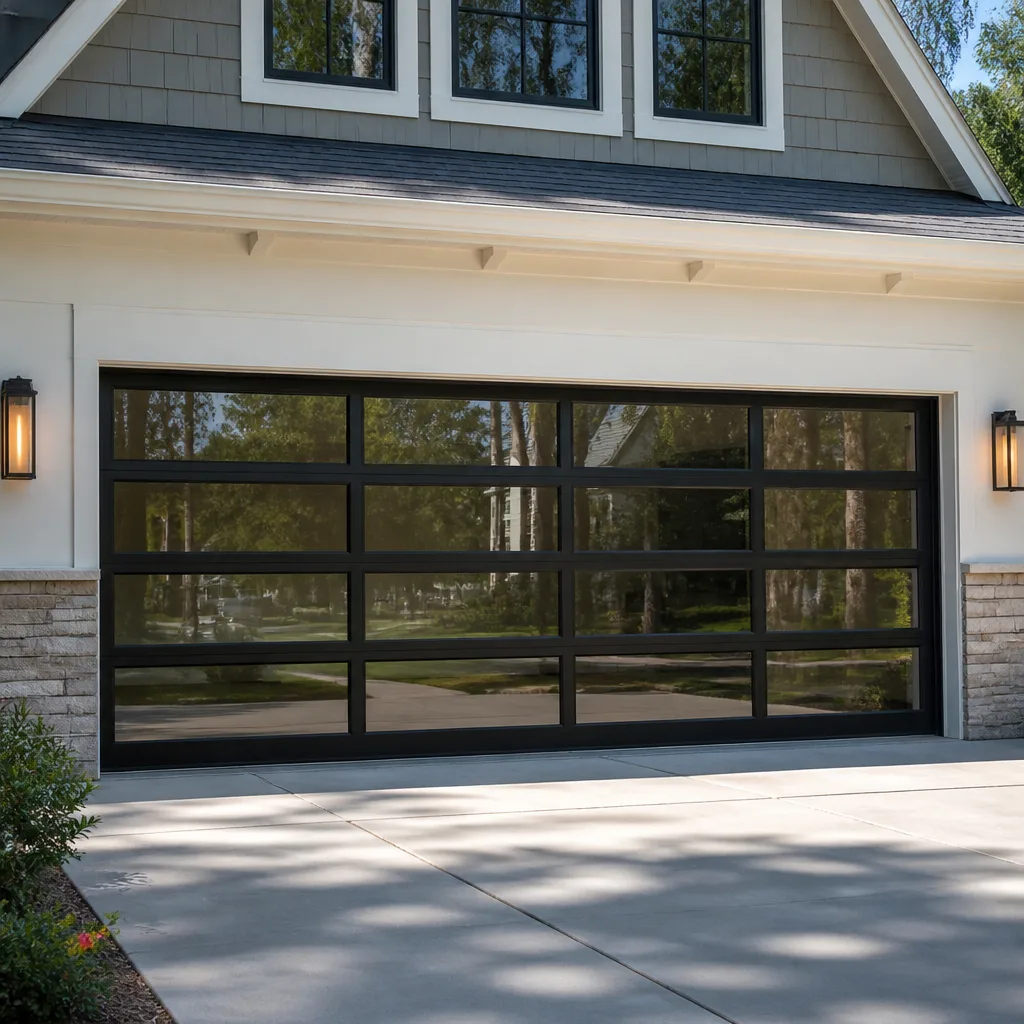 Full-view glass
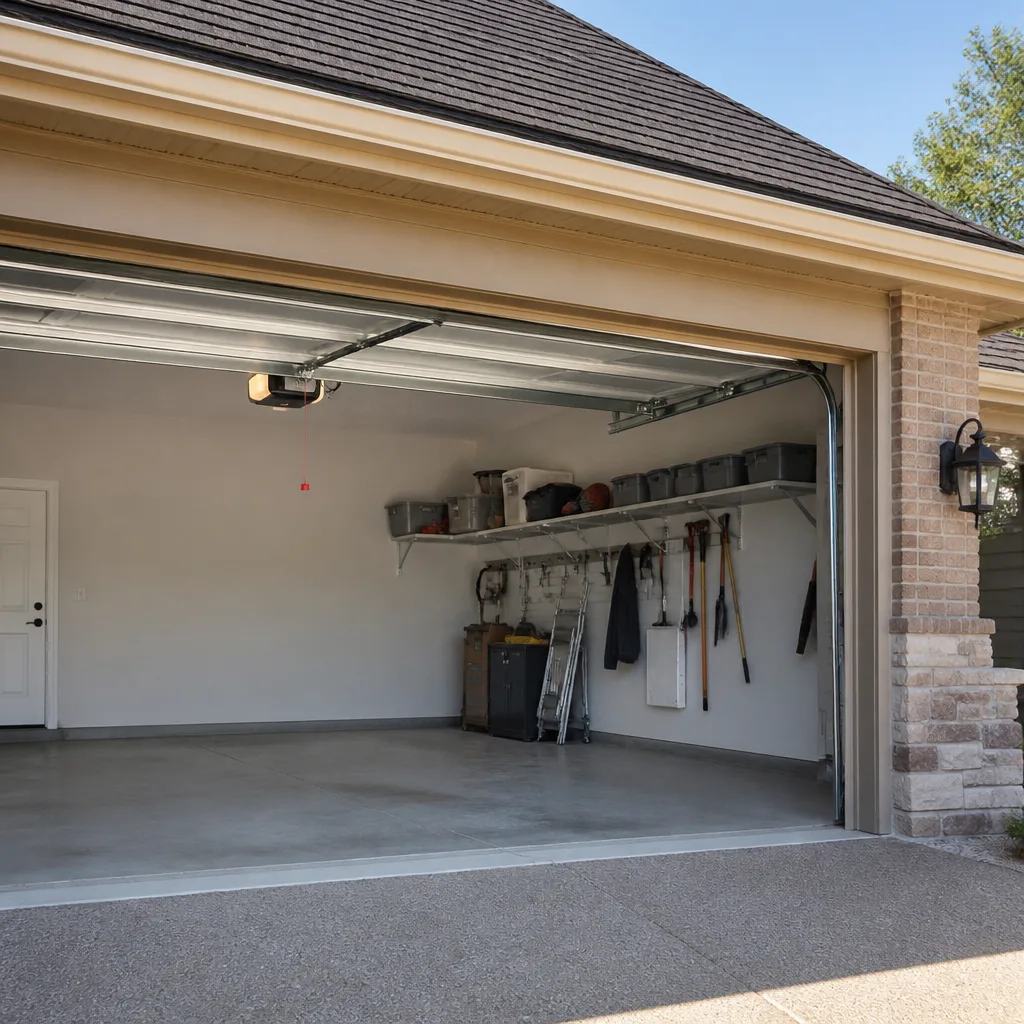 LiftMaster openers
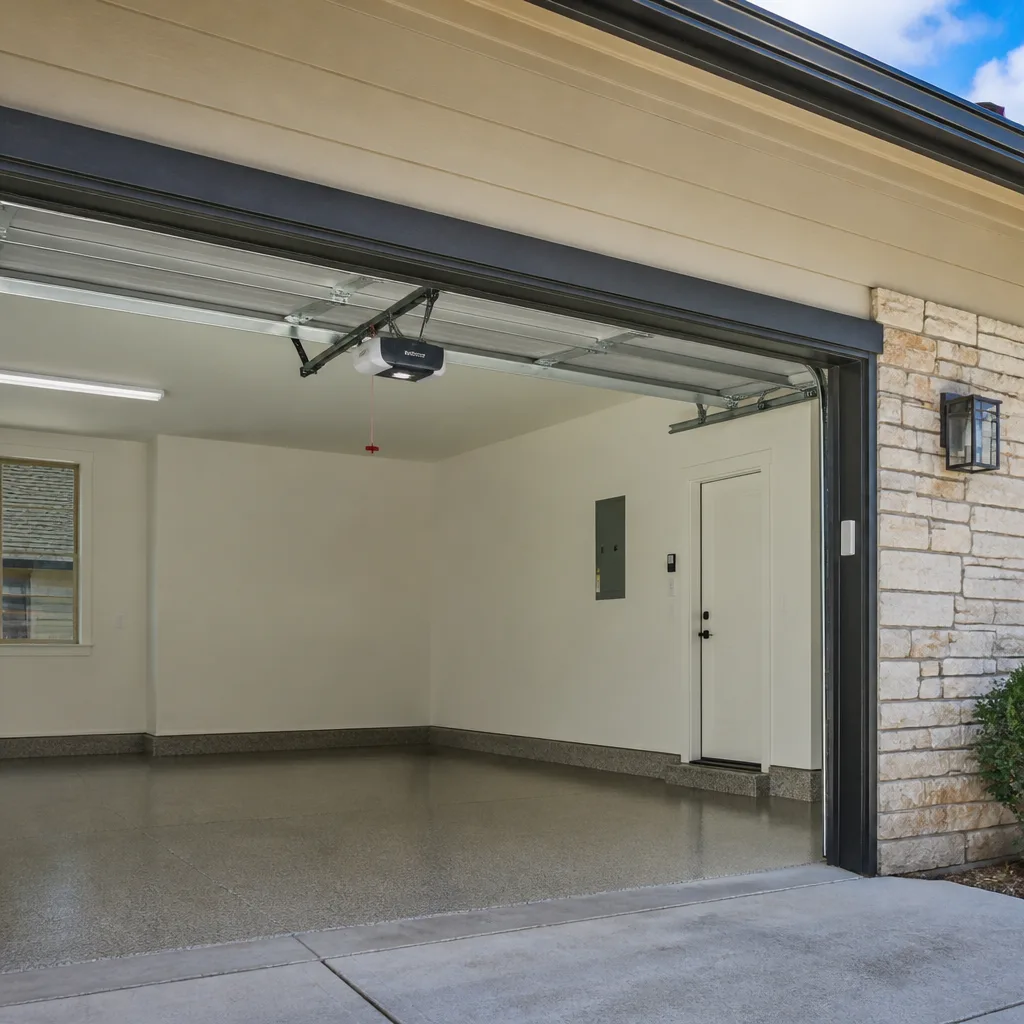 Chamberlain openers
Full 25-point door and opener safety check with every visit - springs, cables, rollers, tracks, and your LiftMaster or Chamberlain opener included
You get a price before we start. It does not change when the pro arrives.
Get your free estimateDIY vs Professional Garage Door: The Pelham Bay Homeowner’s Decision Guide
Replacing the bottom weatherstrip on your garage door is a twenty-minute job with a screwdriver and a $25 seal. Replacing the torsion spring on that same door has put people in the emergency room. From the driveway, both look like “fixing the garage door” – and that’s exactly where homeowners get into trouble. The real question isn’t whether you’re handy enough. It’s which specific tasks on a garage door carry genuine physical risk or quietly void your manufacturer’s warranty, and which ones you can knock out yourself on a Sunday afternoon without consequence. This guide draws that line clearly for Pelham Bay homeowners, task by task, so you can stop paying for the easy jobs and stop attempting the dangerous ones.
Quick Answer
Most garage door maintenance – lubrication, weatherstripping, safety sensor alignment, remote programming – is genuinely safe for a mechanically competent Pelham Bay homeowner to handle. Spring replacement, cable work, and opener installation are a different category: torsion springs store enough energy to cause serious injury, and DIY opener installation can void the manufacturer warranty on major brands like LiftMaster, Chamberlain, and Genie. The line isn’t about skill. It’s about stored energy and warranty terms.
Styles & brands we work with
- Raised-panel steel
- Carriage house
- Modern flush
- Full-view glass
- LiftMaster openers
- Chamberlain openers
Table of Contents
- Which garage door tasks are genuinely DIY-safe?
- Why torsion spring replacement is categorically different
- How DIY opener installation affects your manufacturer warranty
- The cost math: when a pro is actually cheaper
- What to do when a DIY repair reveals a bigger problem
- How Pelham Bay weather and housing shape the DIY decision
- Common mistakes to avoid
- When to call a professional
Which garage door tasks are genuinely DIY-safe?
Lubrication, weatherstripping, safety sensor alignment, and remote programming are all DIY-safe tasks for a homeowner with basic tools. None of them involve stored spring tension, overhead weight, or electrical work beyond a low-voltage sensor circuit. These are the jobs where paying a professional is convenience, not safety – and there’s no shame in either choice, but you should know which side of the line you’re on.
Here’s how each of the safe tasks usually goes.
- Lubrication. A garage door has hinges, rollers, and a track that benefit from a light application of a white lithium or silicone-based lubricant two to four times a year. Spray the hinge pivot points, the roller stems, and the bearing plates at each end of the torsion bar. Don’t grease the tracks themselves – that attracts grit and gums up the rollers.
- Weatherstripping. The bottom seal and the perimeter trim are wear items. A cracked bottom seal lets in rain, road grit, and cold air. Measure the door width, buy the matching seal profile, and slide or screw the new one into the retainer. Most bottom seals are held by a simple channel.
- Safety sensor alignment. The two small photo-eye sensors at the bottom of the tracks need to be facing each other and lit solid. If the door reverses on its own, one is usually knocked out of line or has a spiderweb or leaf blocking the lens. Wipe the lenses, adjust the brackets until both indicator lights stay steady, then test by blocking the beam with your hand.
- Remote and keypad programming. Every major opener brand has a “learn” button on the motor head and a documented pairing sequence. LiftMaster and Chamberlain use the same yellow or purple learn button process; Genie and Craftsman have their own sequences. Find the manual or the brand’s support page and follow it exactly.
These four tasks are the safe zone. If your garage door problem falls inside it, a DIY approach saves money without risk. Everything below the weatherstrip is a different story.
Why torsion spring replacement is categorically different
A torsion spring holds the entire weight of the door under tension, and a standard two-car door spring is wound to hundreds of pounds of stored force. Releasing that tension incorrectly – or losing grip on a winding bar mid-wind – turns the bar and spring into a projectile. That is why spring replacement is the one garage door repair that sends people to emergency rooms, and why it’s the task we’d never describe as DIY-safe to any homeowner.
Here’s what’s actually happening on the door. The torsion spring sits on a steel shaft above the door and is wound to counterbalance the door’s weight. When it’s wound correctly, the door feels like it weighs fifteen pounds when you lift it by hand. When the spring snaps, that counterbalance disappears instantly – and the door becomes a dead weight on the cables. The snap itself is loud and startling. The danger comes afterward, when someone tries to lift a door with no counterbalance or tries to release the cables without knowing where the tension is stored.
Extension springs, common on older single-car doors, store tension along a stretched coil rather than on a wound shaft, but they carry similar stored energy and can fly if a cable or safety containment fails. Neither type is a job for guesswork.
A trained technician approaches spring replacement in a specific sequence: door closed and locked, tension released in a controlled way, correct spring gauge and wind count matched to the door’s weight, and every cable and drum re-seated before the first test cycle. Our technicians have up to 12 years of experience, and spring work is the single call we’d most want homeowners to hand off rather than attempt.
If your spring has already broken – the door is stuck, heavy, or hanging partway – garage door repair should start with a look at the spring, not a lift attempt. Don’t force the door.
How DIY opener installation affects your manufacturer warranty
Most major opener manufacturers require professional installation to keep the full warranty in effect, and the fine print matters more than the brochure. A DIY install on a LiftMaster, Chamberlain, Genie, or Craftsman unit typically shifts the coverage from full parts-and-labor to parts-only, and some brands will decline a claim outright if the failure traces back to improper mounting, incorrect torsion balance, or a safety-reverse test that was never done.
The warranty language usually falls into three buckets:
- Parts coverage. The motor and circuit board typically carry the longest warranty term – but that coverage often assumes the unit was installed to spec. Improper rail alignment, a door that’s out of balance, or a force setting cranked to compensate for a bad spring can fail the “installed properly” clause.
- Labor coverage. Labor is the coverage most likely to be voided by a DIY install. A homeowner install of an opener that later fails often means paying for the replacement labor even if the part is covered.
- Safety-reverse compliance. Every opener sold in the US must have a working safety reverse, and the manual spells out the test. If a door ever injures someone because the safety reverse wasn’t tested, the installer – the person who did the work – carries that liability. That’s a serious reason not to install an opener alone if you’re not confident in the process.
In our experience, the warranty math tips against DIY opener installation for most homeowners. The money saved on labor gets eaten quickly if a claim is denied later. If you’re replacing an opener, garage door opener repair and installation is where a specialist’s knowledge of the brand’s specific requirements actually pays for itself.
The cost math: when a pro is actually cheaper
DIY is cheaper than professional repair only when the job finishes and the fix holds. The moment a DIY attempt stalls – wrong part, stripped bolt, door out of balance, a second problem discovered halfway – the math inverts. You’ve bought the parts, spent the time, and now you’re calling a pro anyway on top of it.
Here’s a rough way to think about the cost of the tasks on each side of the line:
- Lubricant and a can of white lithium spray: $10-$20, and the job takes 15 minutes. DIY wins outright.
- Bottom weatherstrip: $25-$60 in parts, 20-30 minutes of effort. DIY wins.
- Remote or keypad programming: free, once you find the sequence. DIY wins.
- Safety sensor alignment: usually a five-minute fix. DIY wins.
- Opener replacement: the unit itself runs several hundred dollars, plus springs, brackets, and mounting hardware if the old setup needs rework. A pro install packages the labor, the balance check, and the safety-reverse test together – and preserves the warranty.
- Torsion spring replacement: often a same-day job for a pro with the right spring on hand. DIY is off the table, not because of price but because of safety.
- Full door replacement: panels, tracks, springs, and opener all need to work together. This is squarely in professional territory – a homeowner-sourced panel that’s slightly off spec will fight the track and fail early.
The honest rule of thumb: if the task is on the “safe” list, DIY. If it’s a spring, cable, opener install, or full door, the pro wins on cost because a DIY attempt has a meaningful chance of turning into an emergency call anyway. If you’re weighing a new door, garage door installation is measured and scheduled rather than rushed – the quote is written, the panels are ordered for your opening, and the installation date is set before any work begins.
What to do when a DIY repair reveals a bigger problem
If a DIY repair uncovers a bigger problem, stop and document it before doing anything else – note what failed, what you were doing when you noticed it, and what the door is and isn’t doing now. A technician can diagnose faster when you hand them a clear, specific description instead of “my door is broken.”
Here’s the exact sequence we’d want a caller to follow:
- Stop the door and leave it where it is. Don’t cycle it again to “see what happens.” If it’s bound up, partway, or off the track, leave it alone.
- Note the symptom in plain language. “The door reverses on the way down about a foot off the floor” is useful. “It won’t close” is not – it could be the sensor, the travel limit, the force setting, or a broken spring.
- Note when it started. “Right after I pushed it by hand” or “after a loud bang” tells us a lot.
- Look before you touch. A visual check – spring condition, cables, tracks, door alignment – is safe. Lifting, prying, or adjusting is not.
- Note the brand and model. Openers from LiftMaster, Chamberlain, Genie, Craftsman, and the rest each have their own diagnostic behavior. Knowing the brand and model number up front skips a step.
- Call and describe it. A specialist can often tell you what’s likely wrong before the truck rolls, which means the visit is quicker and the quote is clearer.
This is the difference between a diagnostic visit and an exploratory one. Our team works with the eight major brands – LiftMaster, Chamberlain, Genie, Clopay, Amarr, Wayne Dalton, Craftsman, and Raynor – so a clear description usually maps to a known failure pattern and a stocked part. We tie the diagnosis to the call for Garage Door Repair Pelham Bay because a fast, accurate diagnosis is the whole point of using a specialist.
One more thing: if you’ve already done a safe DIY task and the door still misbehaves, you haven’t made it worse – you’ve ruled out one cause. That’s useful information, not a wasted effort.
How Pelham Bay weather and housing shape the DIY decision
Pelham Bay’s weather is hard on garage door components, and that shifts the DIY-vs-pro decision more than most homeowners realize. The freeze-thaw cycles through winter and the humid summers common to New York City push metal springs and weather seals through more stress cycles than a climate with steady temperatures would. That means springs here age faster, bottom seals crack sooner, and a door that ran smooth in October can feel different by February.
Pelham Bay’s housing stock also matters. Many homes here have garages that face the street with a short or shared driveway, which means a door stuck in the open position leaves the house exposed to the street. If a DIY repair fails halfway and the door won’t close, the urgency moves to the next level. That’s not a reason to call a pro for weatherstripping – but it is a reason to have a plan if a job stalls.
Snow, ice, and road salt pushed up against the bottom seal are the biggest winter wear items here. Check the bottom seal in late fall and replace it before the first hard freeze if it’s already cracked. A cheap seal replaced on a mild afternoon is a much better option than realizing in January that the door is letting cold air underneath.
Summer humidity works on the tracks and hinges more than the door itself. Rollers that were clean in April may feel sticky by August. That’s the DIY lubrication job, not a repair call.
The things that push a Pelham Bay door repair out of the DIY lane are still spring breaks, cable failures, and opener problems – and those come up here in every season. When they do, the correct move is the same in Pelham Bay as anywhere: close the door (if you safely can), leave it alone, and call.
Common Mistakes to Avoid
- Attempting a torsion spring with a screwdriver or pliers. Winding bars are the only correct tool, and even then the job requires knowing the correct wind count for your door’s weight. A wrong-tool attempt can release the spring under load, and the resulting injury is often serious.
- Greasing the tracks. Lubricant belongs on hinges, rollers, and bearing plates – not on the tracks. Greased tracks collect grit and cause the rollers to drag, which is the opposite of what you want. Wipe tracks clean with a dry cloth instead.
- Installing an opener without testing the safety reverse. Every opener manual spells out a two-by-four test – place a 2×4 flat under the door and the door should reverse on contact. Skipping that test leaves the door as a liability, not a convenience.
- Adjusting the force setting to compensate for a bad spring. If the door needs extra force to lift, the problem is spring balance, not the opener. Cranking up the force burns out the motor and can fail the warranty.
- Forcing a stuck door. If the door won’t lift by hand (with the opener disengaged), something is binding – spring, cable, or track. Pushing harder makes the binding worse and risks injury.
- Ignoring a small dent or bent track after a car bumps the door. A slightly bent track pulls the rollers out of line gradually. What looks like a cosmetic issue on the panel often becomes a door that climbs unevenly six months later.
- Ordering a replacement panel before checking the brand and model. Panels from Clopay, Amarr, Wayne Dalton, and Raynor aren’t interchangeable across brands. A panel that fits the opening but doesn’t match the door’s construction will fight the track and let in water.
When to Call a Professional
Call a professional when the task involves stored energy, cable tension, opener installation, or a door that’s already off track. That means: any broken spring, any snapped cable, any door that won’t lift by hand, any opener that’s failing or being replaced, and any panel or full door replacement. Those jobs aren’t about whether you could technically figure them out – they’re about the risk of injury if something slips and the warranty exposure if the install isn’t to spec.
Garage Door Repair Pelham Bay handles the full range: emergency service when a door fails, spring repair, opener repair and replacement, and new door installation. Our technicians have up to 12 years of experience, and every job gets a written estimate before any work starts, so you know the number before the door comes down. Emergency or scheduled – we’re ready. Free estimates in Pelham Bay – call (877) 792-6840.
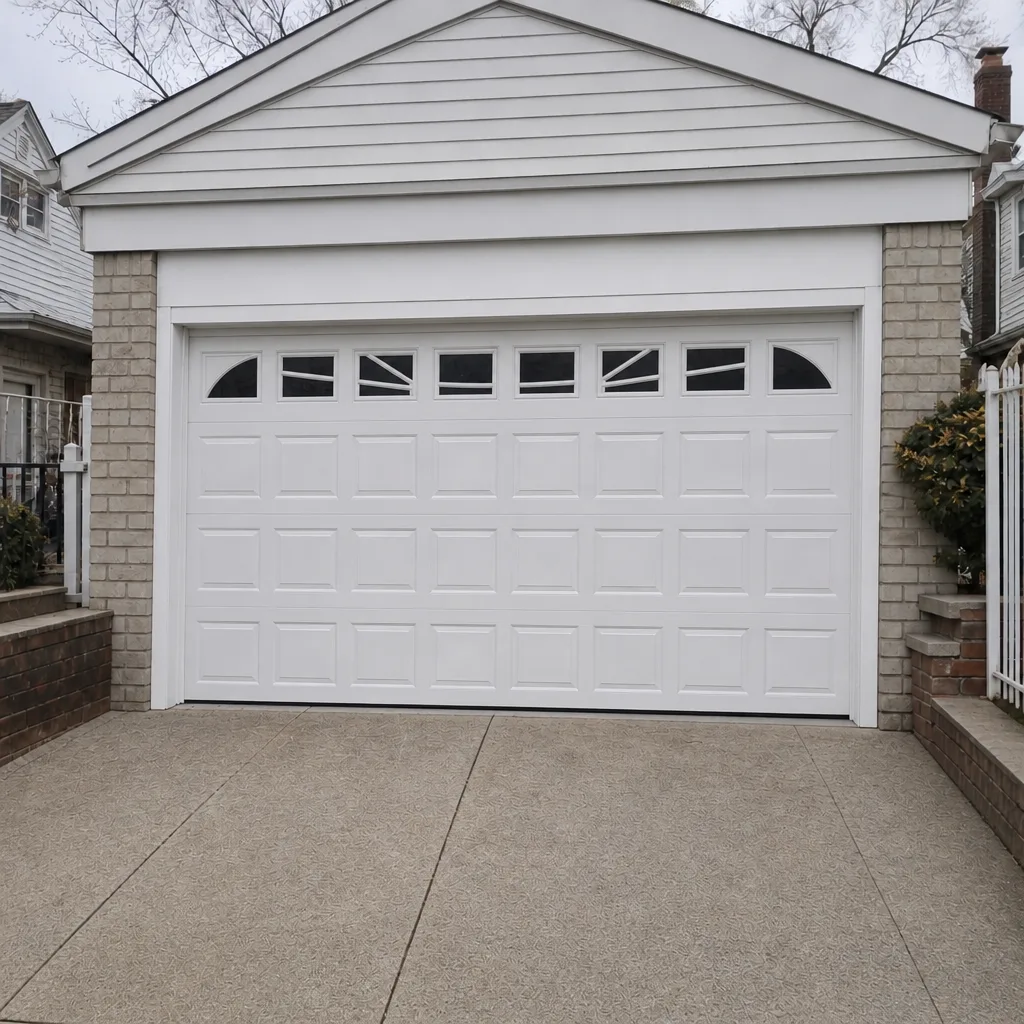
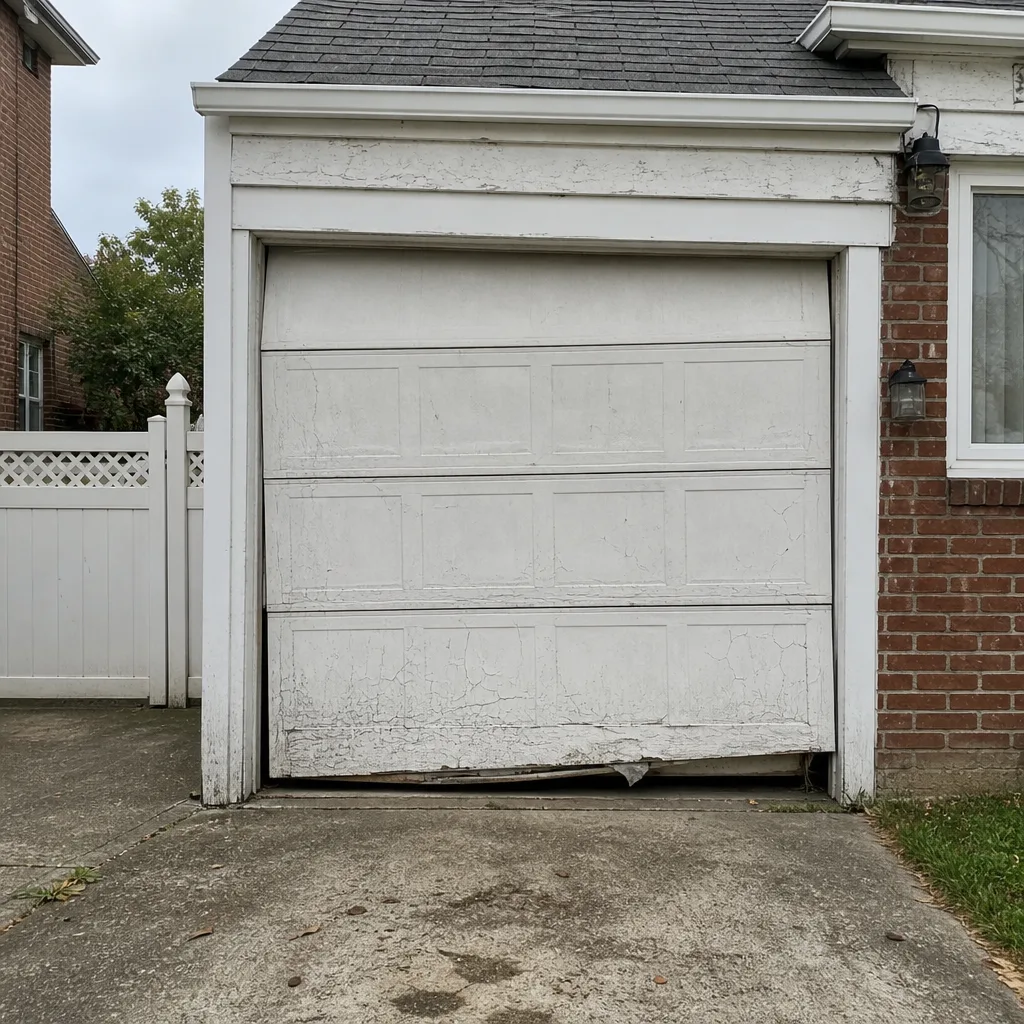
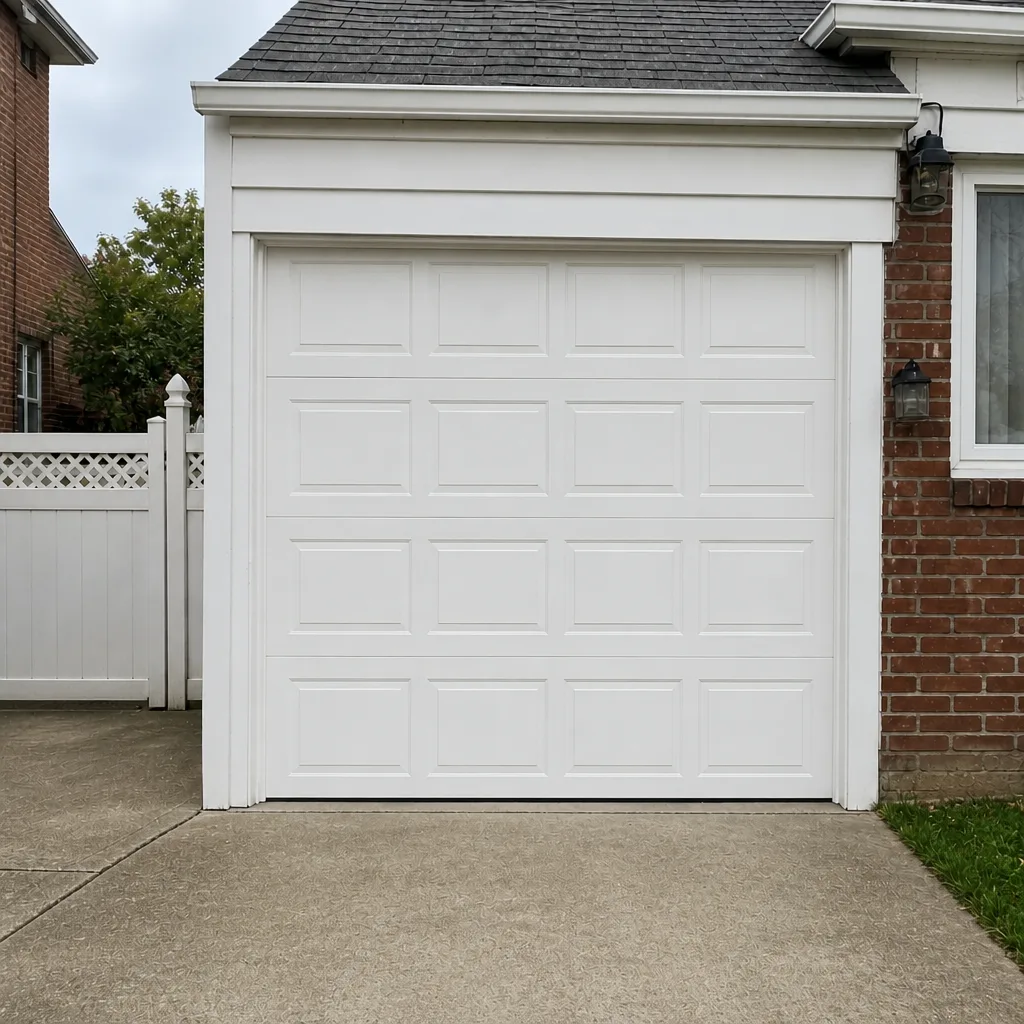
See the difference
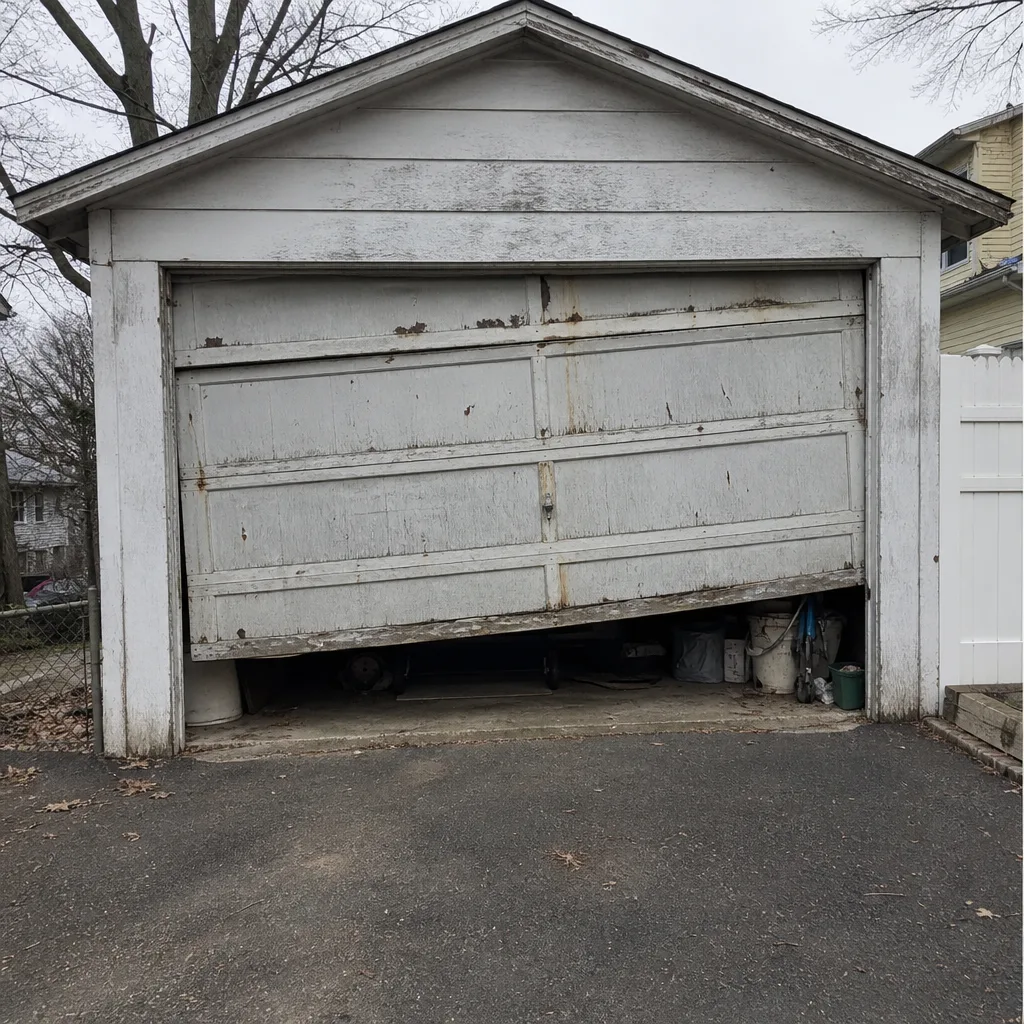 Before
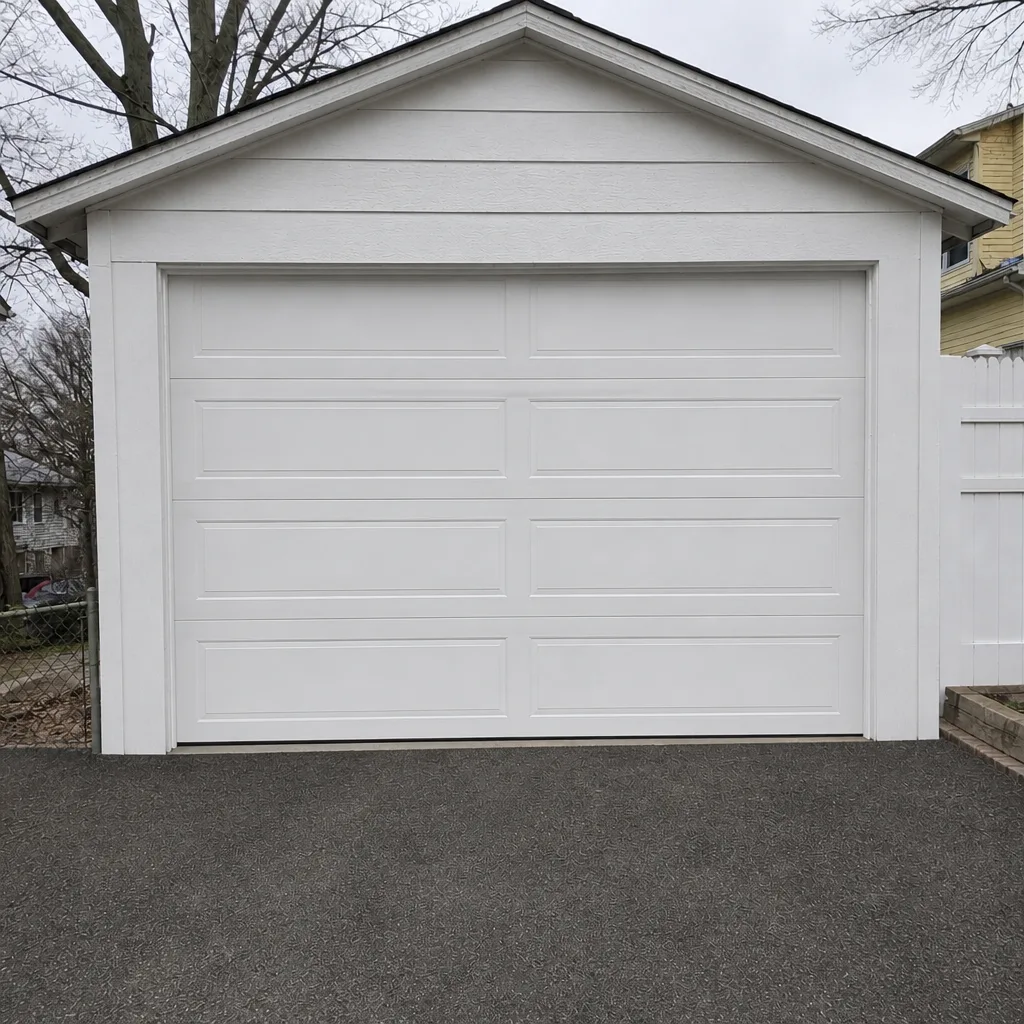 After
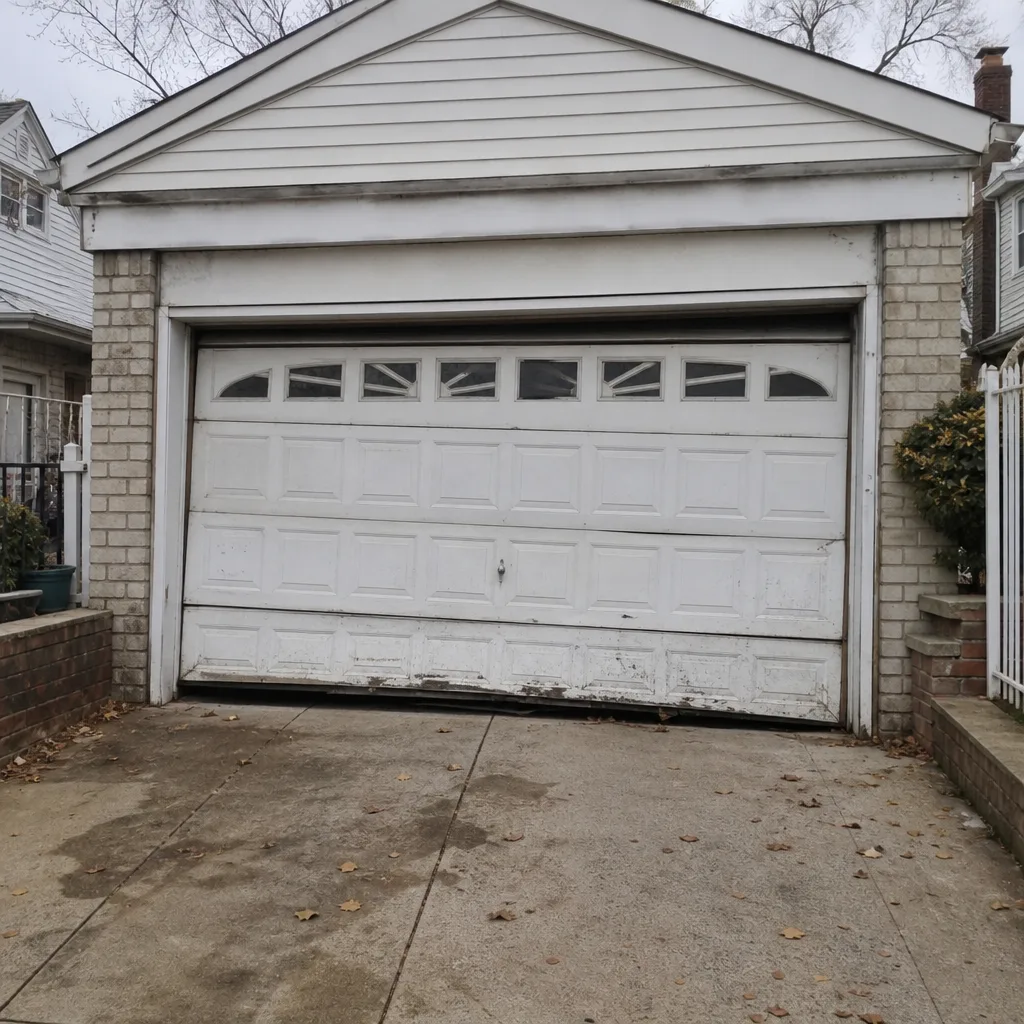 Before
 After
 Before
 After
Frequently Asked Questions
No – torsion spring replacement is not a safe DIY task for any homeowner, in Pelham Bay or anywhere else. The spring holds hundreds of pounds of stored force, and releasing it incorrectly can cause serious injury. This is the single garage door repair we’d strongly recommend handing to a trained technician. If your spring is broken, call (877) 792-6840 for a free estimate.
It usually affects the warranty, and often voids the labor coverage on major brands like LiftMaster, Chamberlain, Genie, and Craftsman. The parts warranty may still apply, but manufacturers frequently require professional installation to keep the full coverage intact. The safest route is to let a specialist handle the install and document it. Call us for a quote before you unbox the new unit.
Lubrication is the easiest and most frequent DIY task – a can of white lithium spray and ten minutes on the hinges, rollers, and bearing plates. Weatherstripping and remote programming are also safe for a competent homeowner. None of these involve stored spring tension, cable work, or electrical wiring. If your problem is outside those four tasks, it’s worth a call.
Spring replacement is quoted per job based on the door’s size, spring type, and access, so the safest answer is to get a written estimate – we’ll quote before any work starts. Call (877) 792-6840 for an exact number on your door. The estimate is free.
Stop cycling the door and leave it where it is. Don’t try to undo what you did if it involves a spring or cable – the safe move is to call and describe what happened. Note the symptom, the brand and model, and what you were doing when it changed. A specialist can usually tell you what’s likely wrong from that description alone. Call (877) 792-6840.
Often, yes – emergency garage door service is part of what we do, and a stuck door that won’t close is exactly the call that comes in first. The technician will confirm what’s needed before starting. Call (877) 792-6840 to check availability for your door, and estimates are free.
The Bottom Line
The DIY-vs-professional decision on a garage door comes down to two questions: does this task involve stored spring energy or live wiring, and does it affect my manufacturer warranty? If the answer to both is no, it’s a safe DIY job – lubrication, weatherstripping, sensors, remotes. If the answer to either is yes, it’s a professional call, every time. Pelham Bay’s freeze-thaw cycles make springs and seals wear items here, but the rule stays the same. Handle the safe jobs yourself, hand off the dangerous ones, and keep a specialist’s number ready for the moment a DIY attempt turns into something bigger. Call us at (877) 792-6840 for a free estimate.
Written by the team at Garage Door Repair Pelham Bay.